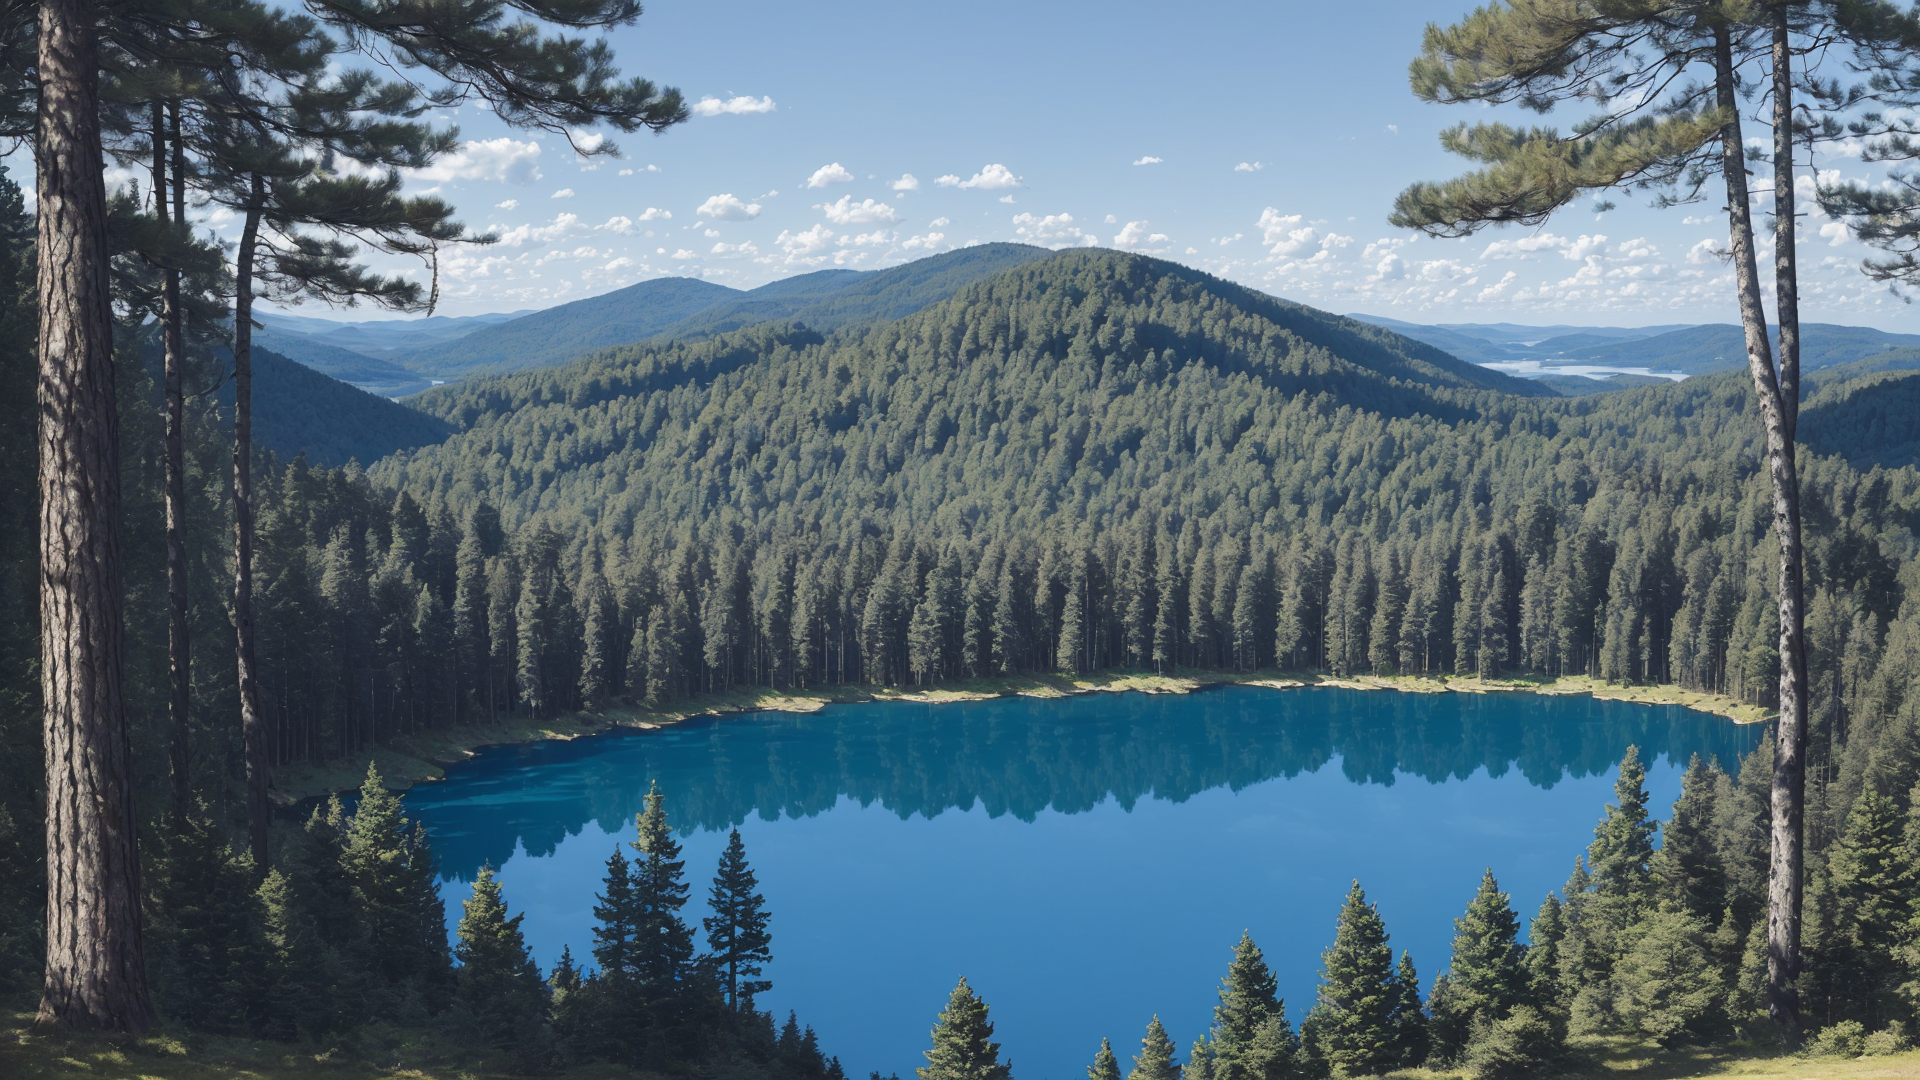
Made this on SD! A painting of my favorite camp spot; Tony’s Grove.
Check out my camping list! Being a tech enthusiast, you might find a couple of unnecessary items but they make your life a bit easier when your on the trail!
Step 1: Shelter
Of the 3 basic human necessities (food, water, shelter), having a place to rest after a long day of hiking can bring comfort, relaxation and security to your campsite.
There are a few methods of obtaining shelter when camping; most op to bring a tent or hammock with them but if you want to be hardcore, bushcrafting is an alternative method.
(I wont cover that here, maybe in another post!)
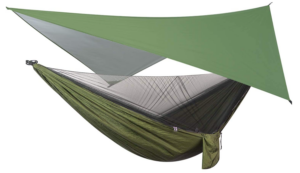
If I am going to be camping by myself, I prefer to use a hammock over a tent due to its ease of setup and because I find it more comfortable on my back. That and the fact that if I decide to go backpacking rather than drive-in, it is far lighter to carry a compressed hammock in my backpack than a 2 man tent.
Step 2: Shelter Comforts
Your method of shelter is important but without the amenities inside, it’s just a big plastic bag whether your using a hammock or tent.
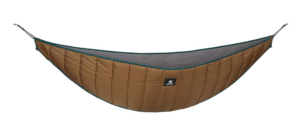
My preferred method, being a hammock, doesn’t necessitate a sleeping mat due to its nature of being off the ground. My alternative is a hammock insulation cover. For those of you who live in a snowy climate, you can think of a hammock kind of like a road bridge; at the start of the season, the bridges are where the ice forms first.
With this in mind, sleeping on a hammock without putting anything underneath effectively doubles the amount of surface area that the wind can remove your body heat from. Adding this cover greatly improves your comfort while sleeping, unless you like being a frozen pea in a pod!
Step 3: Sleeping Bag
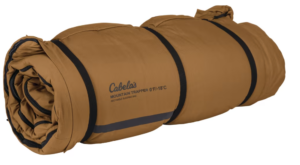
A good night’s sleep is crucial while camping, and a suitable sleeping bag plays a vital role in achieving that. A sleeping bag provides the warmth and insulation needed to keep you comfortable during chilly nights.
For tent campers like I mentioned above, combine it with a sleeping pad, unless laying on a bed of nails/rocks is your go-to method for acupuncture!
Step 4: Food and Water
Food and water are likely going to be the most significant part of the weight you will have. This is important to keep in mind if you are going to be backpacking into your campsite. You will want to pack a sufficient amount of non-perishable food items, for the length of your trip, that are easy to prepare and require minimal to no refrigeration.
For Food: Plan lightweight, energy-rich foods that provide ample calories during your trip. Delicious meals enjoyed in the great outdoors are a highlight of any camping trip.
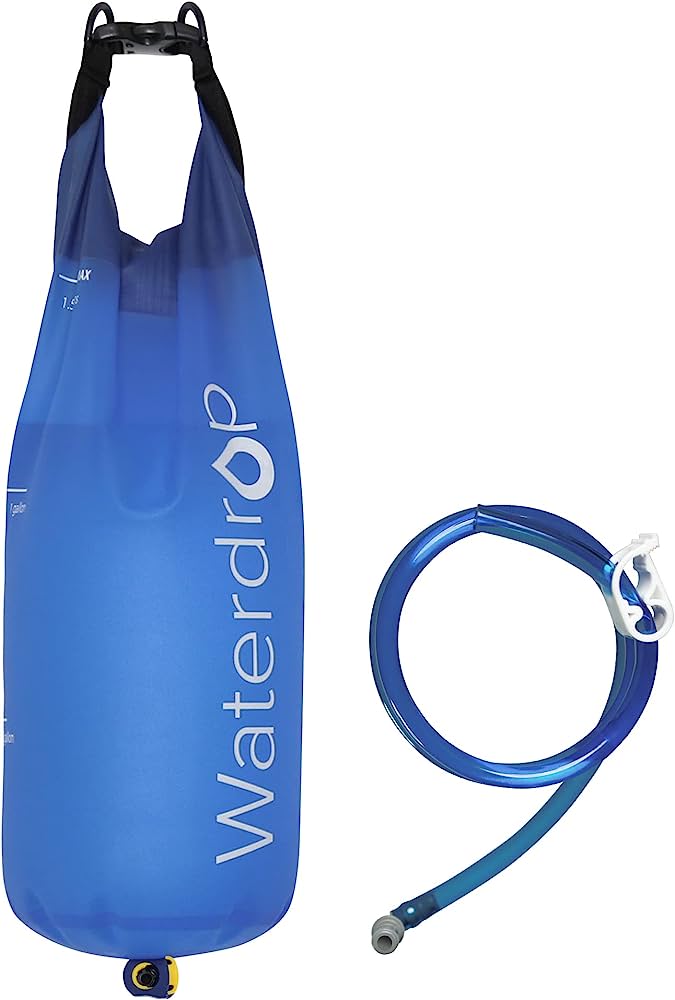
For Water: Drinking water is heavy but 100% necessary for survival and comfort. A reliable water filtration system, such as a Life Straw, is critical to ensure hydration throughout your camping trip. Make sure not to forget a container to store it in if you plan on using this method!
Step 5: Cooking Utensils
Food can only go as far as you can cook it unless you plan on protein bars for the whole trip.
A campfire is the most common image people picture when camping. It is a great method for cooking your food and providing light and heat. Cooking on a campfire requires a bit of skill and finesse since you will not have any temperature control or a flat surface to set anything on like the range at home.
At its most basic, only two things are needed to cook; a pot/pan and something to stir or remove the food from it. (Remember that last part, it sucks forgetting a spatula to remove your bacon from pan as its burning and you have to find a stick small and clean enough to flip it…)
If you want to make your life easier, invest in cooking equipment such as a portable stove, cookware, and utensils. These items allow you to prepare hot meals safely and easily. Remember to pack essentials like a lighter, matches, and fuel canisters to ensure you can start a fire or operate your portable stove.
Also, remember the smore skewer if you fancy those!
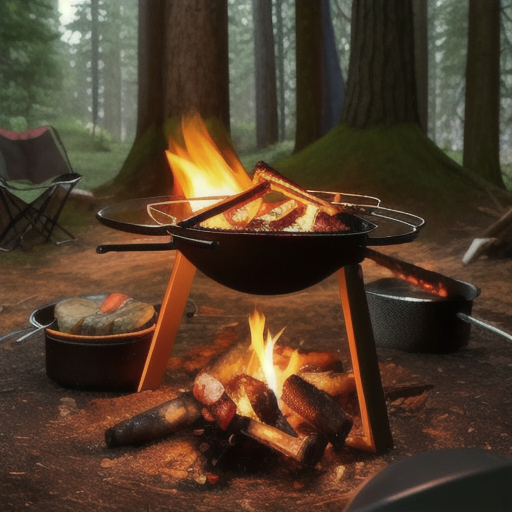
Made this on Standard Diffusion!
I’ll cover this on a future post.
Step 6: Lighting & Power
When darkness falls, having reliable lighting equipment is very convenient if you don’t want to rely on the campfire for it.
A standard flashlight or camp lantern are the way to go. A headlamp is a nice alternative to navigate your campsite at night if you want a hands free experience. Make sure that the batteries and new/charged before heading out.
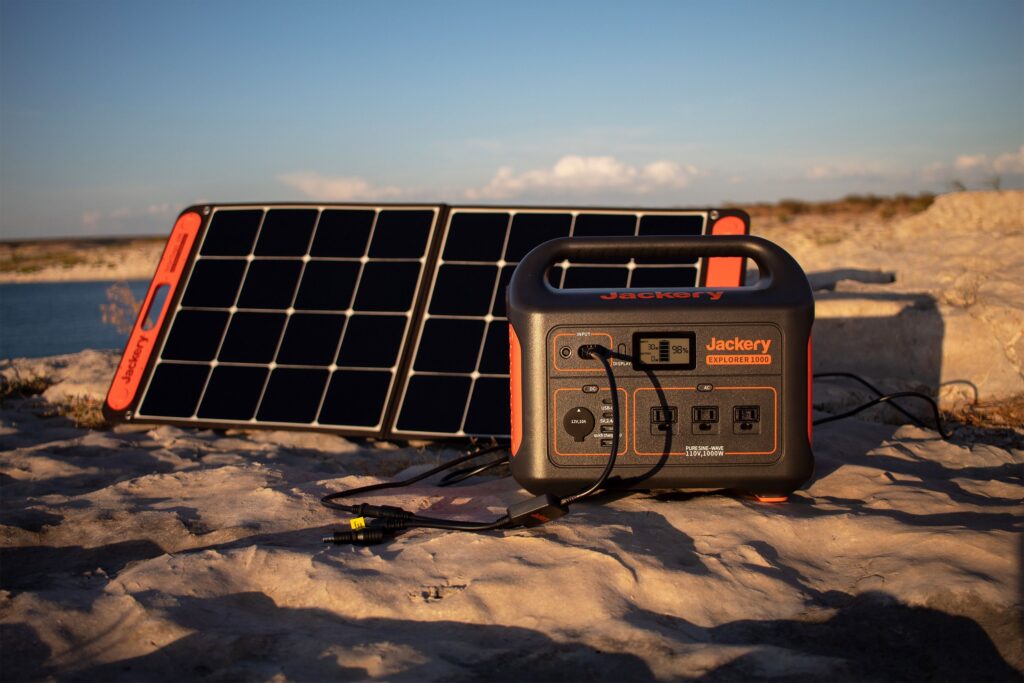
Here is where my tech side shows! I bring along with me my Jackery 300 and 100W solar panel. I like to keep my phone charged for emergencies. Here is where I do something that I don’t believe I’ve seen anyone else do before as well, I use cheap harbor fright fairy lights for a light source in my hammock and to make a small border for my camp. They come in 20-50ft spools and use only 2-5W of power over USB, fraction of power for the amount of light they can produce.
One more thing I will note here is that I’m a huge advocate for reducing light pollution. Here in Utah, we have some of the darkest sky’s in the US which makes for amazing stargazing! This for me is a primary reason for camping. That said, look for a flashlight or headlamp that has a built in red LED setting, this will greatly improve your nightvision and allow your to view the night sky easier.
Step 7: Tools & First Aid
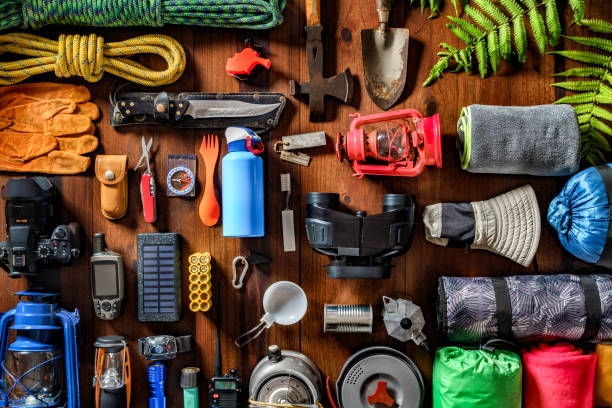
There are a lot of things marketed towards camping, and a big part of that is the tools needed to setup fire and shelter. A few simple tools are needed and there are plenty more that can make things even easier. I’ll list a few here:
Necessary:
- First Aid Kit: A comprehensive first aid kit should include bandages, antiseptic ointment, pain relievers, tweezers, scissors, and other medical essentials to handle minor injuries and emergencies.
- Multi-Tool: A versatile tool that typically includes pliers, knives, screwdrivers, and other useful attachments. It is handy for various tasks like repairing gear, opening cans, cutting ropes, and performing small repairs.
- Camping Knife: A sharp, durable knife is essential for cutting food, ropes, and other materials, as well as for preparing meals and performing general campsite tasks.
- Camping Axe/Hatchet: Useful for chopping firewood, splitting logs, and clearing brush. Choose a lightweight and compact option for easier portability.
- Campfire Starter: This can include matches, lighters, or fire starters (such as fire-starting sticks or cubes) to ignite your campfire easily. Ensure you have a reliable method for starting fires in different weather conditions.
Optional:
- Rope/Paracord: A versatile tool for setting up a tarp, clothesline, hanging a bear bag, or securing gear. Opt for strong, durable rope or paracord with various lengths and thicknesses.
- Camping Hammer/Mallet: Used for securing tent stakes, pounding in pegs, or assembling camping furniture. Look for a lightweight, sturdy hammer or mallet that won’t damage your gear.
- Duct Tape: A roll of duct tape can serve as a quick fix for gear repairs, patching tents, securing equipment, or even medical uses in emergencies. Its versatility makes it an essential item to have on hand.
- Camp Saw: Used for cutting larger pieces of firewood or trimming branches. Look for a lightweight, foldable saw with sharp teeth for efficient cutting.
- Compass: The inner eagle scout within me compels me to list this!
Step 8: Clothing
Depending on the length of your trip, you might not need to many articles of clothing but you always want a backup pair even if it is only an overnight trip. Anything can happen from falling in the river fishing to using an extra shirt as a tourniquet.
Check the weather before you head out to pack appropriate clothing, including layers for temperature fluctuations. Don’t forget that even if it is 80°F during the day, it can fall to ~40°F at night.
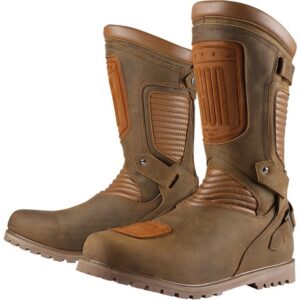
Sturdy hiking boots, rain gear if applicable, a hat, and sunglasses to protect yourself from the elements.
Additionally, bring personal hygiene items, sunscreen, insect repellent, and any other items specific to your needs.
Step 9: Furniture
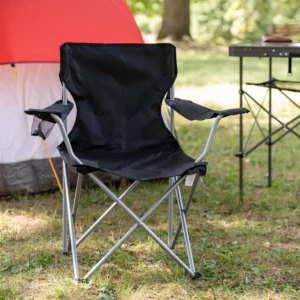
Enhance your camping experience with a few comforts. Consider items like a camping chair and a foldable table. These accessories provide convenience and create a more enjoyable outdoor living space.
Hiking them in might be a bit of a burden but sitting on the ground or a rock can only be so fun for so long…
Step 10: Entertainment
While the beauty of nature often serves as the primary source of entertainment, it’s wise to have some additional recreational items. Pack items like a deck of cards or a good book to enjoy during leisurely moments at your campsite.
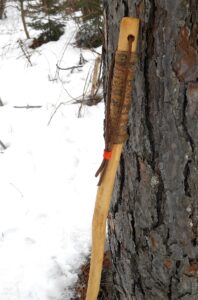
I have made it a tradition to find a good stick and spend some time smoothing it out into a good hiking pole. I’m trying to collect one from each hike!
Probably a few good miscellaneous mentions: Toilet paper, map (if you havent downloaded the map on your phone), earplugs (if the bugs are too loud)
