Category: Hobbies

  • Butter Churn

    Butter Churn

    [vc_row][vc_column width=”1/2″][vc_column_text]Boy oh boy has it been a minute since it posted last!

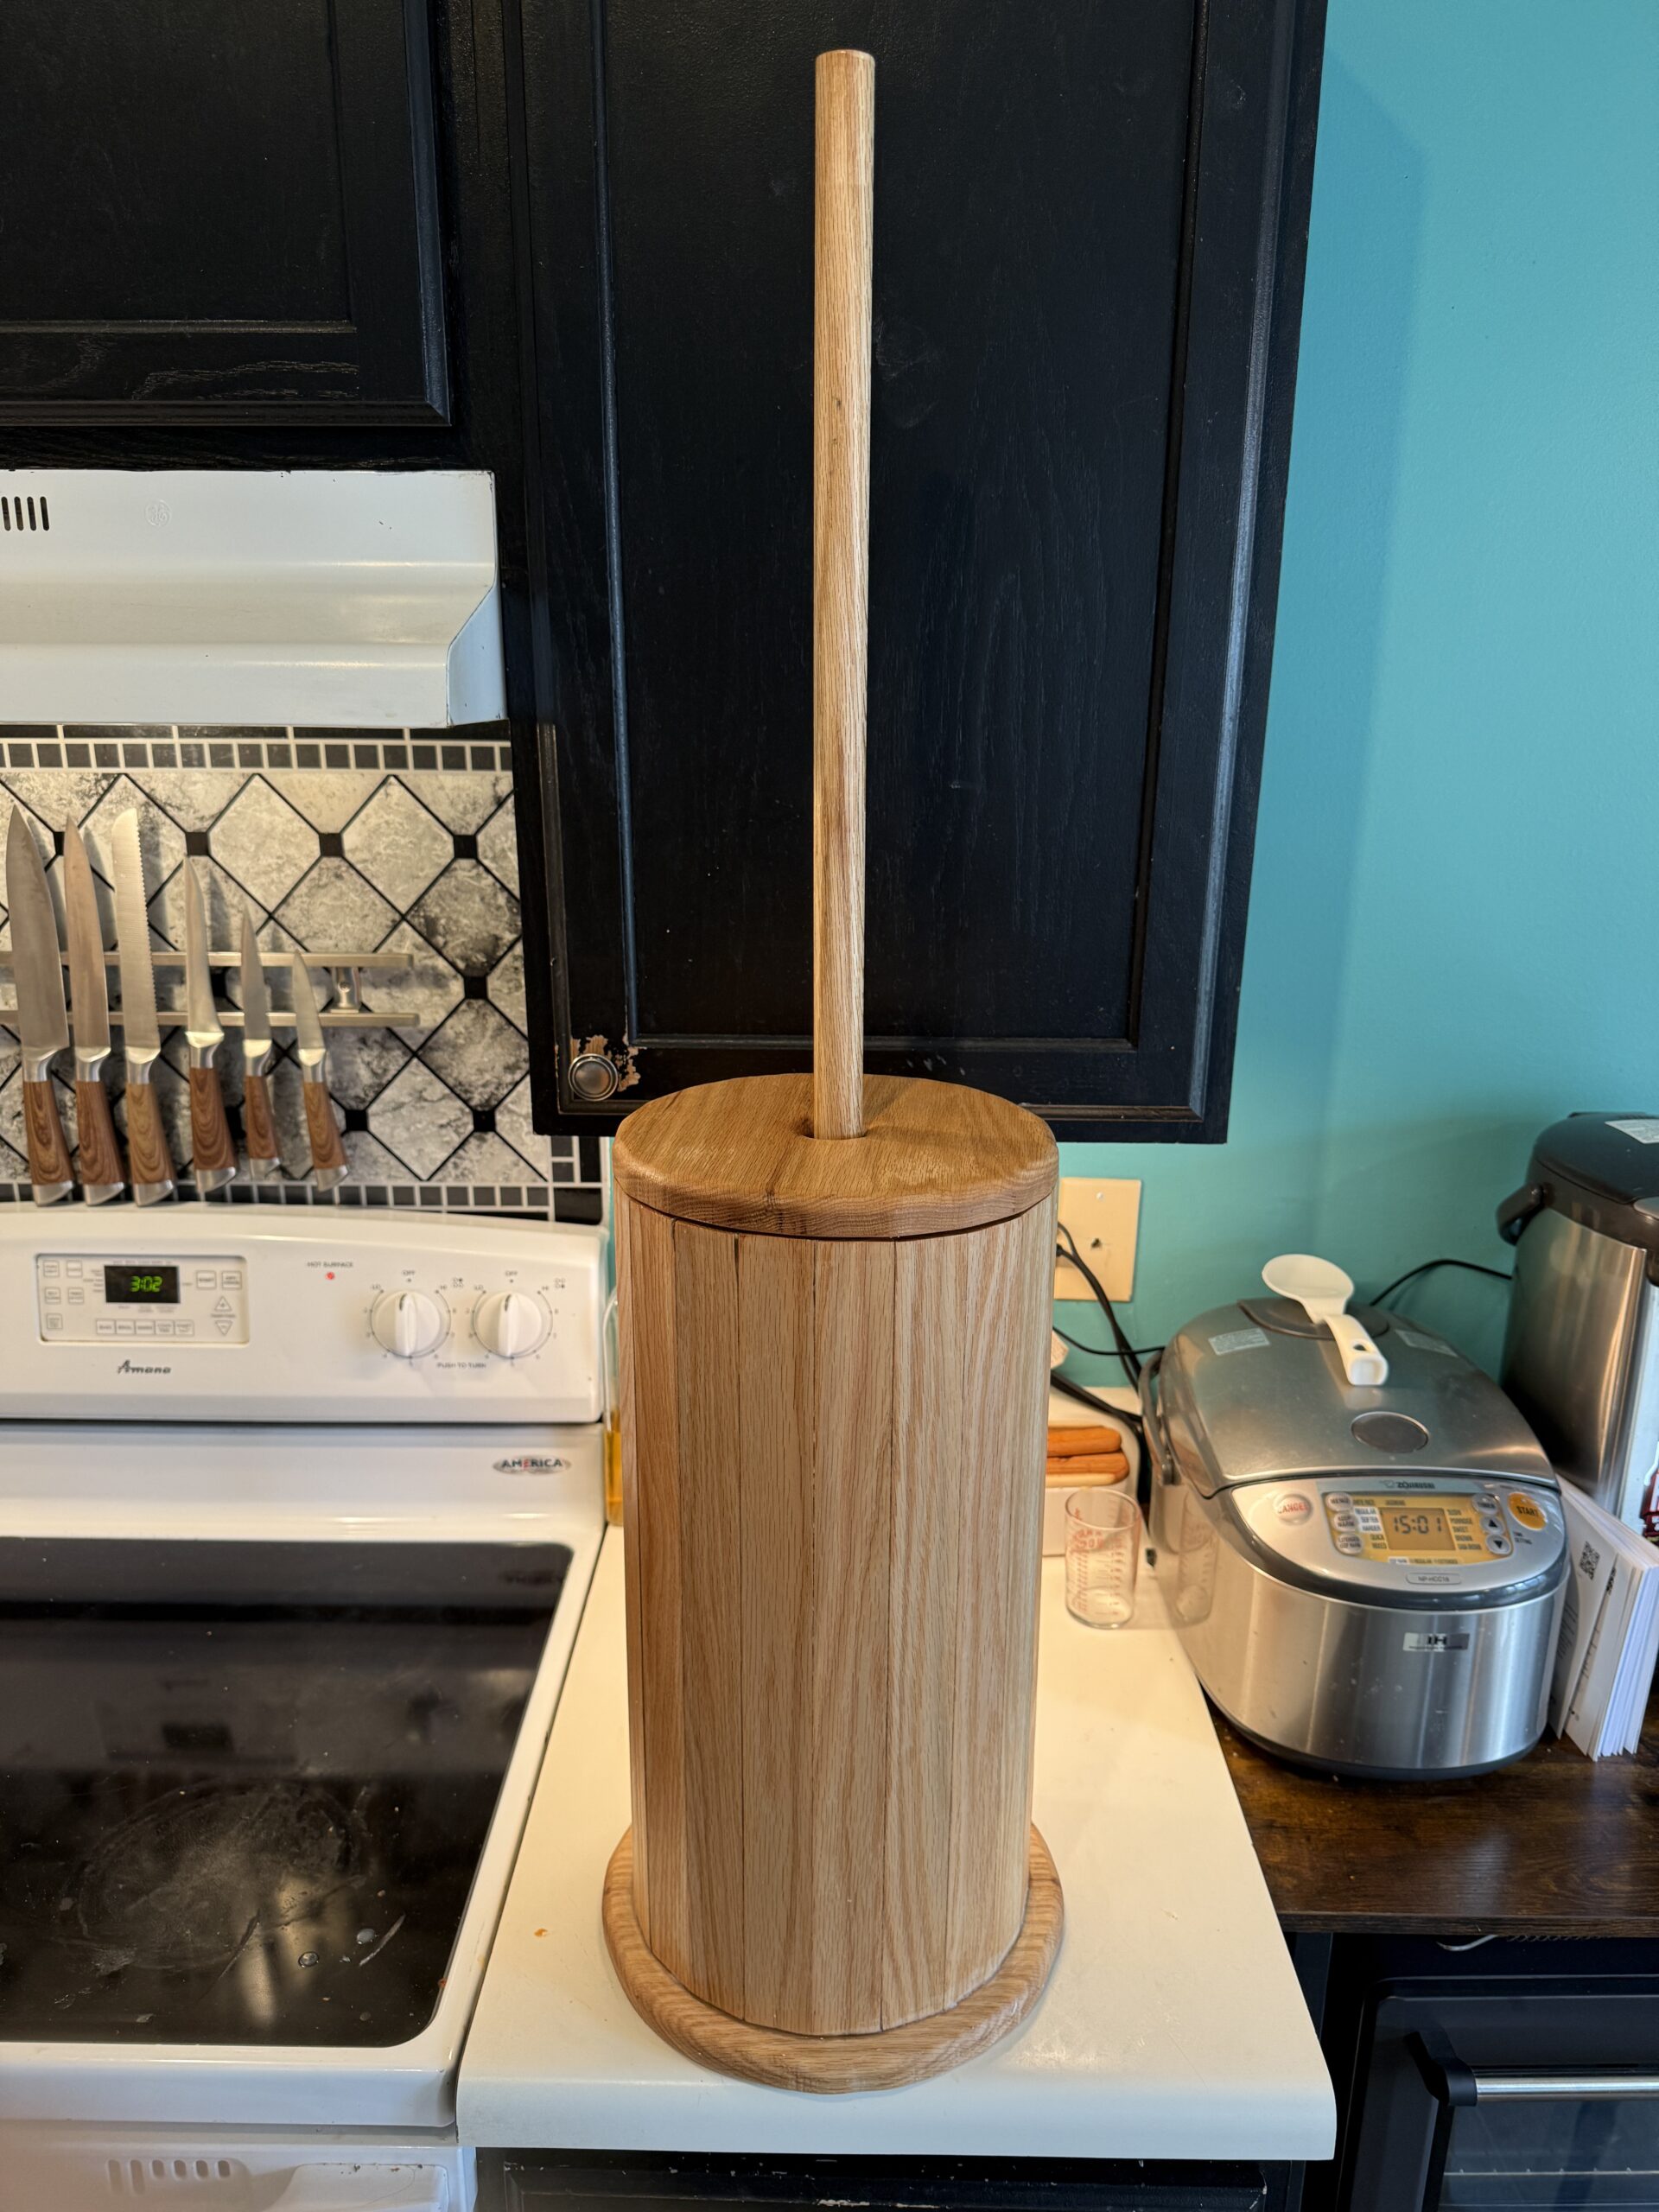
    My sister-in-law’s birthday is around the corner and I had an idea that I wanted to create something that would fit into their lifestyle. I wanted it to be both functional and decorative so I settled on a butter churn! It has a use case and doubles as rustic kitchen decor.

    Although I thought that this was going to be easy in practice, it very much took some patience. I started by referencing a few dozen designs online for various traditional pieces, and I modeled it after the most iconic looking churn’s.[/vc_column_text][/vc_column][vc_column width=”1/2″][vc_single_image image=”618″ img_size=”medium” alignment=”center”][/vc_column][/vc_row][vc_row][vc_column width=”1/2″][vc_single_image image=”607″ img_size=”500×500″ alignment=”center”][/vc_column][vc_column width=”1/2″][vc_column_text]I wanted it to look as round as possible so I upped the amount of stays from the traditional 12 to 20. They are 1.5″ wide Oak stays and the math worked out to a bevel of 9° on each side.

    I numbered then on the end so I could keep track of the sanding process. They were sanded down to 1000 grit on the inside edge to reduce the number of pores to prevent the milk/cream/butter from embedding it into the end product.[/vc_column_text][/vc_column][/vc_row][vc_row][vc_column][vc_column_text]I glued each of the stays together in sets.

    In hindsight, I really should have done this all at the same time.

    A massive mistake I made a this stage was not wiping the excess wood glue away before it dried. Using a very fine chisel to fix that took a lot of unnecessary time.

    Applying pressure to the glue joints was a bit of a thinker too. Normally you would just use regular clamps but the bevel made that impossible. Instead, i got some really large and strong #7 rubber bands that held perfect tension around the barrel. Getting the rubber band on without 4 hands and it collapsing on itself was a whole ordeal…[/vc_column_text][/vc_column][/vc_row][vc_row][vc_column width=”1/3″][vc_single_image image=”611″ img_size=”500×500″ alignment=”center”][/vc_column][vc_column width=”1/3″][vc_single_image image=”621″ img_size=”500×500″ alignment=”center”][/vc_column][vc_column width=”1/3″][vc_single_image image=”612″ img_size=”500×500″ alignment=”center”][/vc_column][/vc_row][vc_row][vc_column width=”1/2″][vc_column_text]Making the circle base and top was harder than I thought it was going to be. I free cut the base on the bandsaw but with the top I was able to make it flush with a router bit. The base might look a bit funky but at least it has character![/vc_column_text][/vc_column][vc_column width=”1/2″][vc_single_image image=”615″ img_size=”500×500″ alignment=”center”][/vc_column][/vc_row][vc_row][vc_column width=”1/2″][vc_column_text]

    [/vc_column_text][/vc_column][vc_column width=”1/2″][vc_column_text]Every surface was coated with a mixture of 200g of mineral oil and 50g of beeswax. (Exactly like a wooden cutting board!)

    The churn sticks were boiled in beeswax for over an hour to fill all gaps and cracks so that it is easier to clean.[/vc_column_text][/vc_column][/vc_row][vc_row][vc_column width=”1/3″][vc_single_image image=”614″ img_size=”500×500″ alignment=”center”][/vc_column][vc_column width=”1/3″][vc_column_text]

    After finishing it, I realized that the top just bounces all around during use, so I modified it with embedded magnets to hold the lid shut. I coated the rim with beeswax for a good seal too.

    [/vc_column_text][/vc_column][vc_column width=”1/3″][vc_single_image image=”616″ img_size=”500×500″ alignment=”center”][/vc_column][/vc_row][vc_row][vc_column][vc_column_text]This was a very fun learning experience and I’m not joking when I say that I used every tool in the shop to make it! I even had to buy new ones too! (Cheap routers don’t like Oak. :D)

    I actually had a lot more planned to add to it but work and life took the time that I needed.

    It may not be the most practical thing to use since the KitchenAid will make butter like 20 times faster and is way easier to clean but at least it can be some good kitchen décor and a story to tell for guests. Either way, I hope she enjoys it![/vc_column_text][/vc_column][/vc_row]

  • Shooting Bench

    Shooting Bench

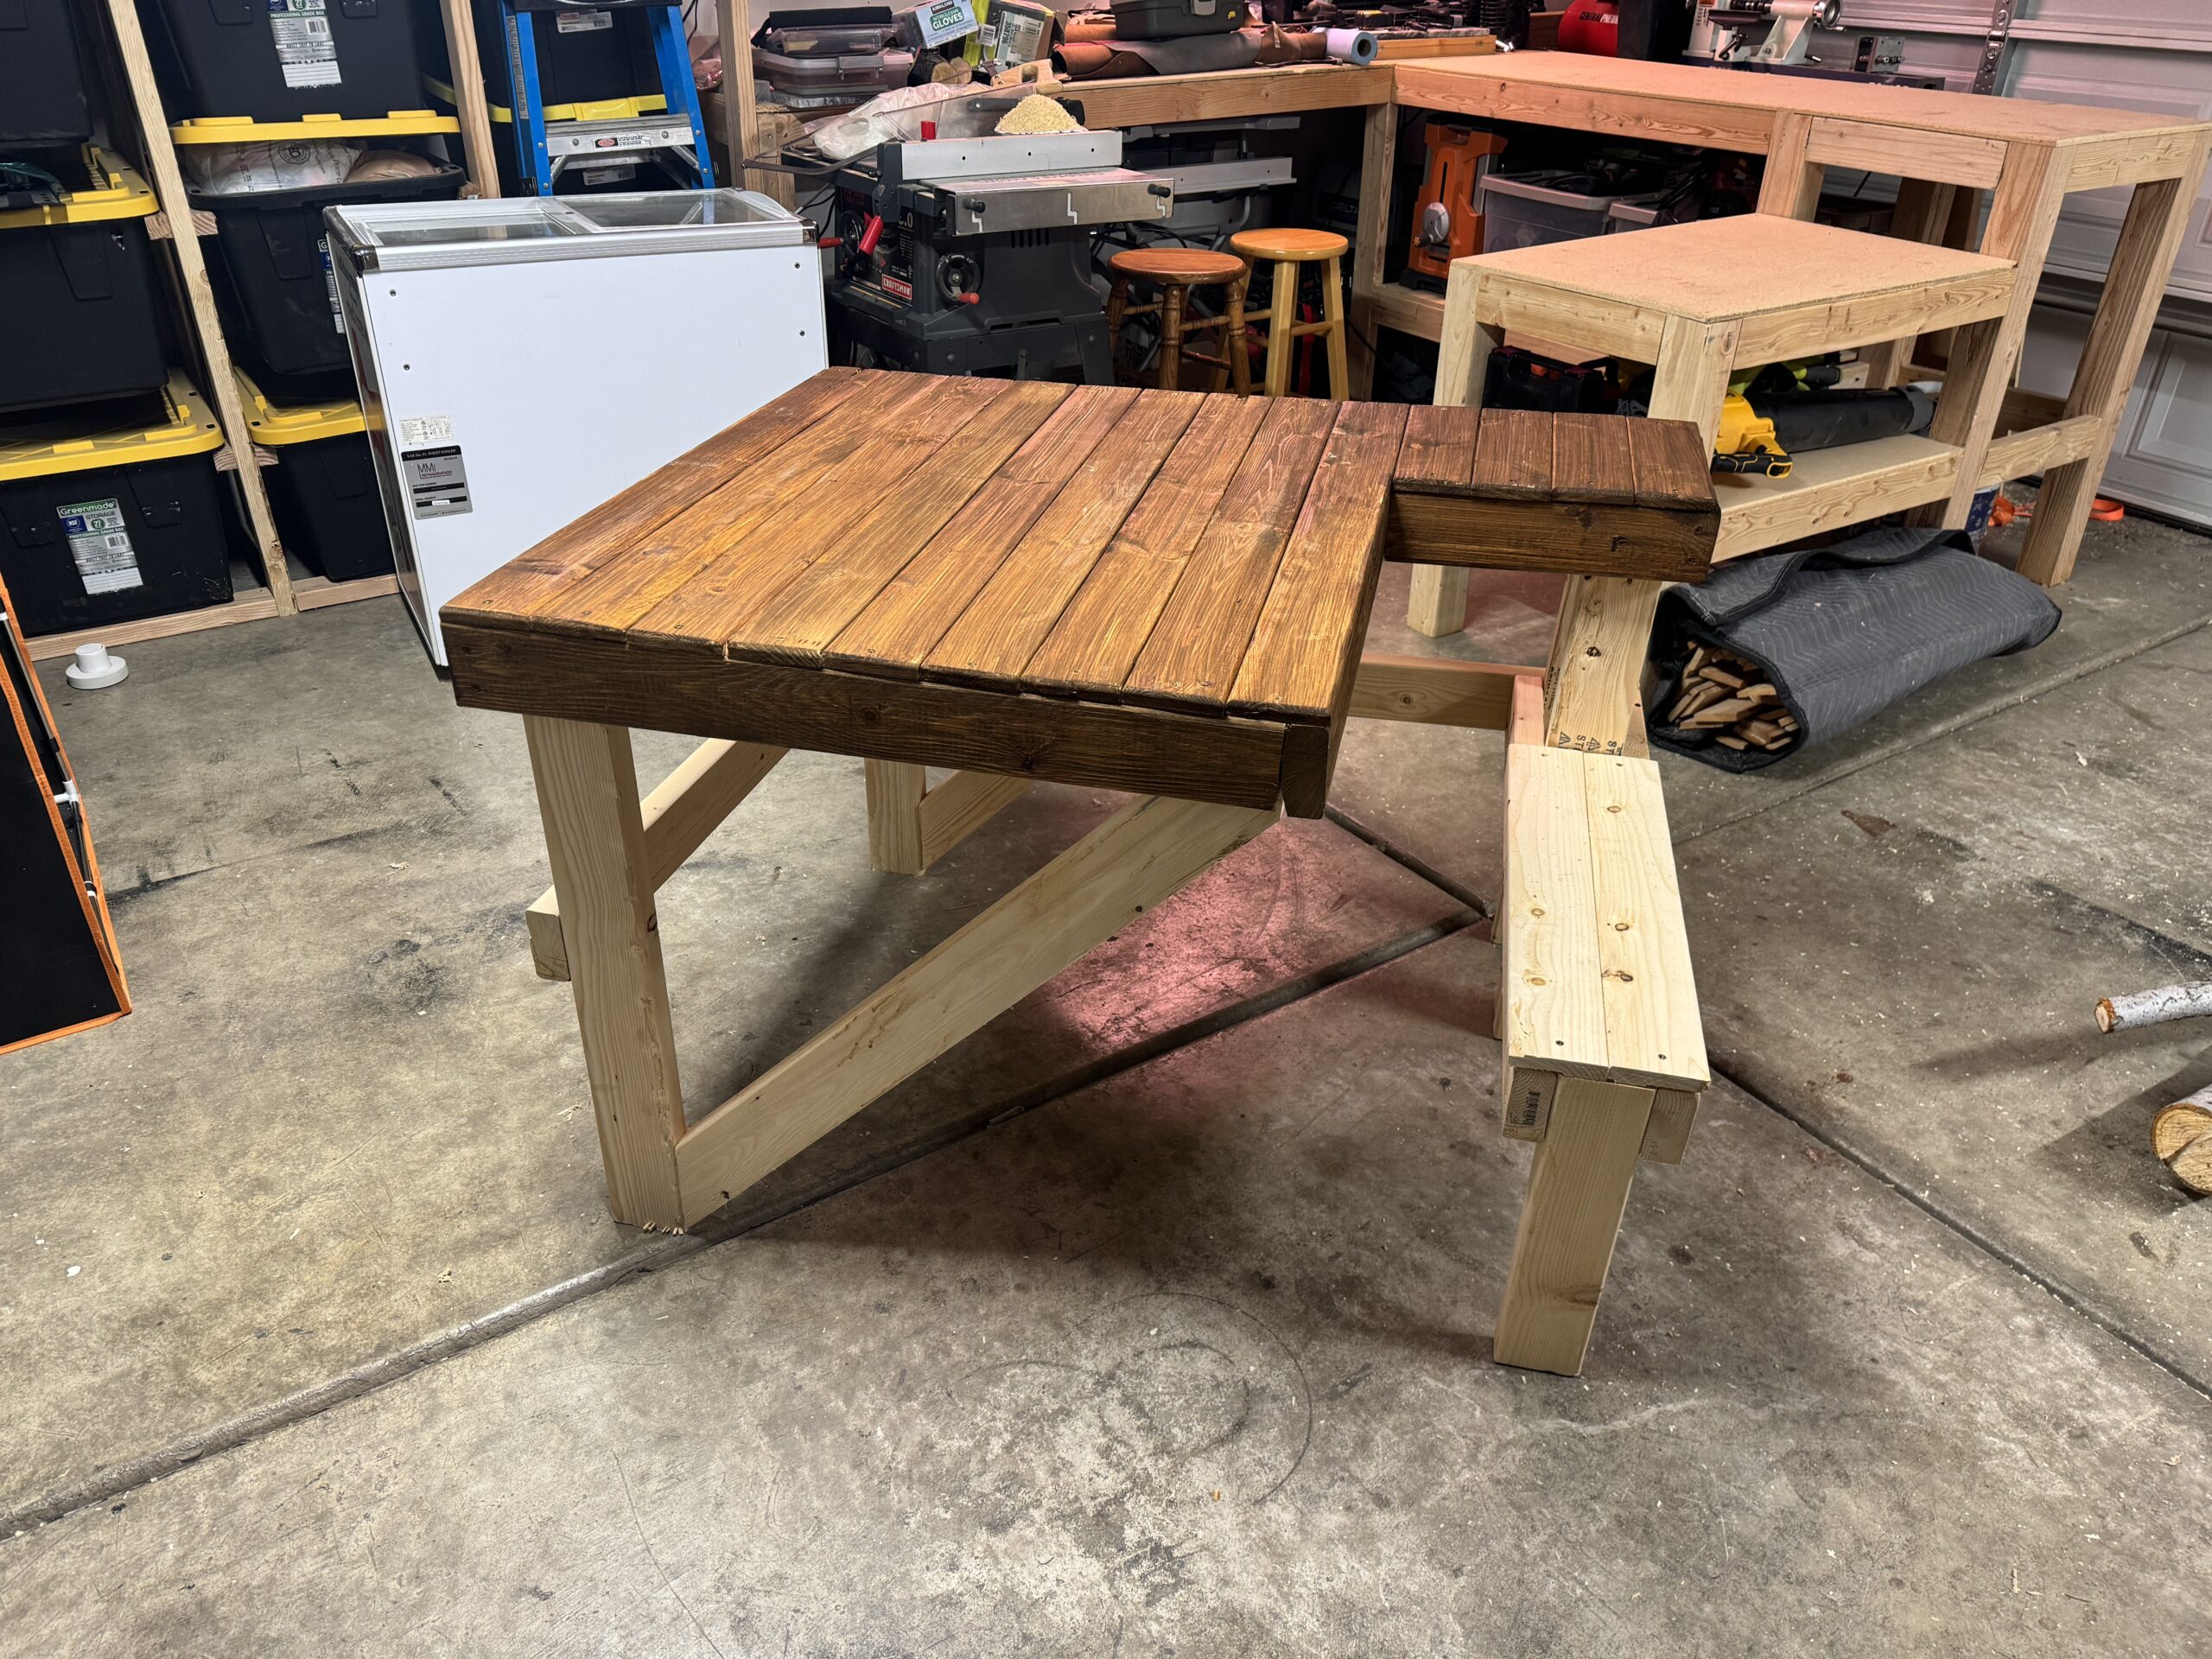
    [vc_row][vc_column width=”1/2″][vc_column_text]In the shop today! I went shooting with my family last weekend and we found that there was no place to sit or shoot from when we were there.

    Time to fix that! I present to you my shooting bench!

    (And me in shop gear! :D)[/vc_column_text][vc_single_image image=”497″ img_size=”full”][/vc_column][vc_column width=”1/2″][vc_gallery interval=”5″ images=”496,499″ img_size=”full”][/vc_column][/vc_row]

  • Christmas Tree Time

    Christmas Tree Time

    [vc_row][vc_column][vc_column_text]For the past two years, Bryce and I have gone to cut down our own Christmas tree! This year we went a bit overboard with a 20 footer.[/vc_column_text][/vc_column][/vc_row][vc_row][vc_column][vc_single_image image=”489″ img_size=”full” alignment=”center”][/vc_column][/vc_row]

  • Fixed My Planer!

    Fixed My Planer!

    [vc_row][vc_column width=”1/2″][vc_column_text]Holy cow! I didn’t realize that when I ordered the part to fix my planer that it was going to take over a month to come!

    Throw back to this.

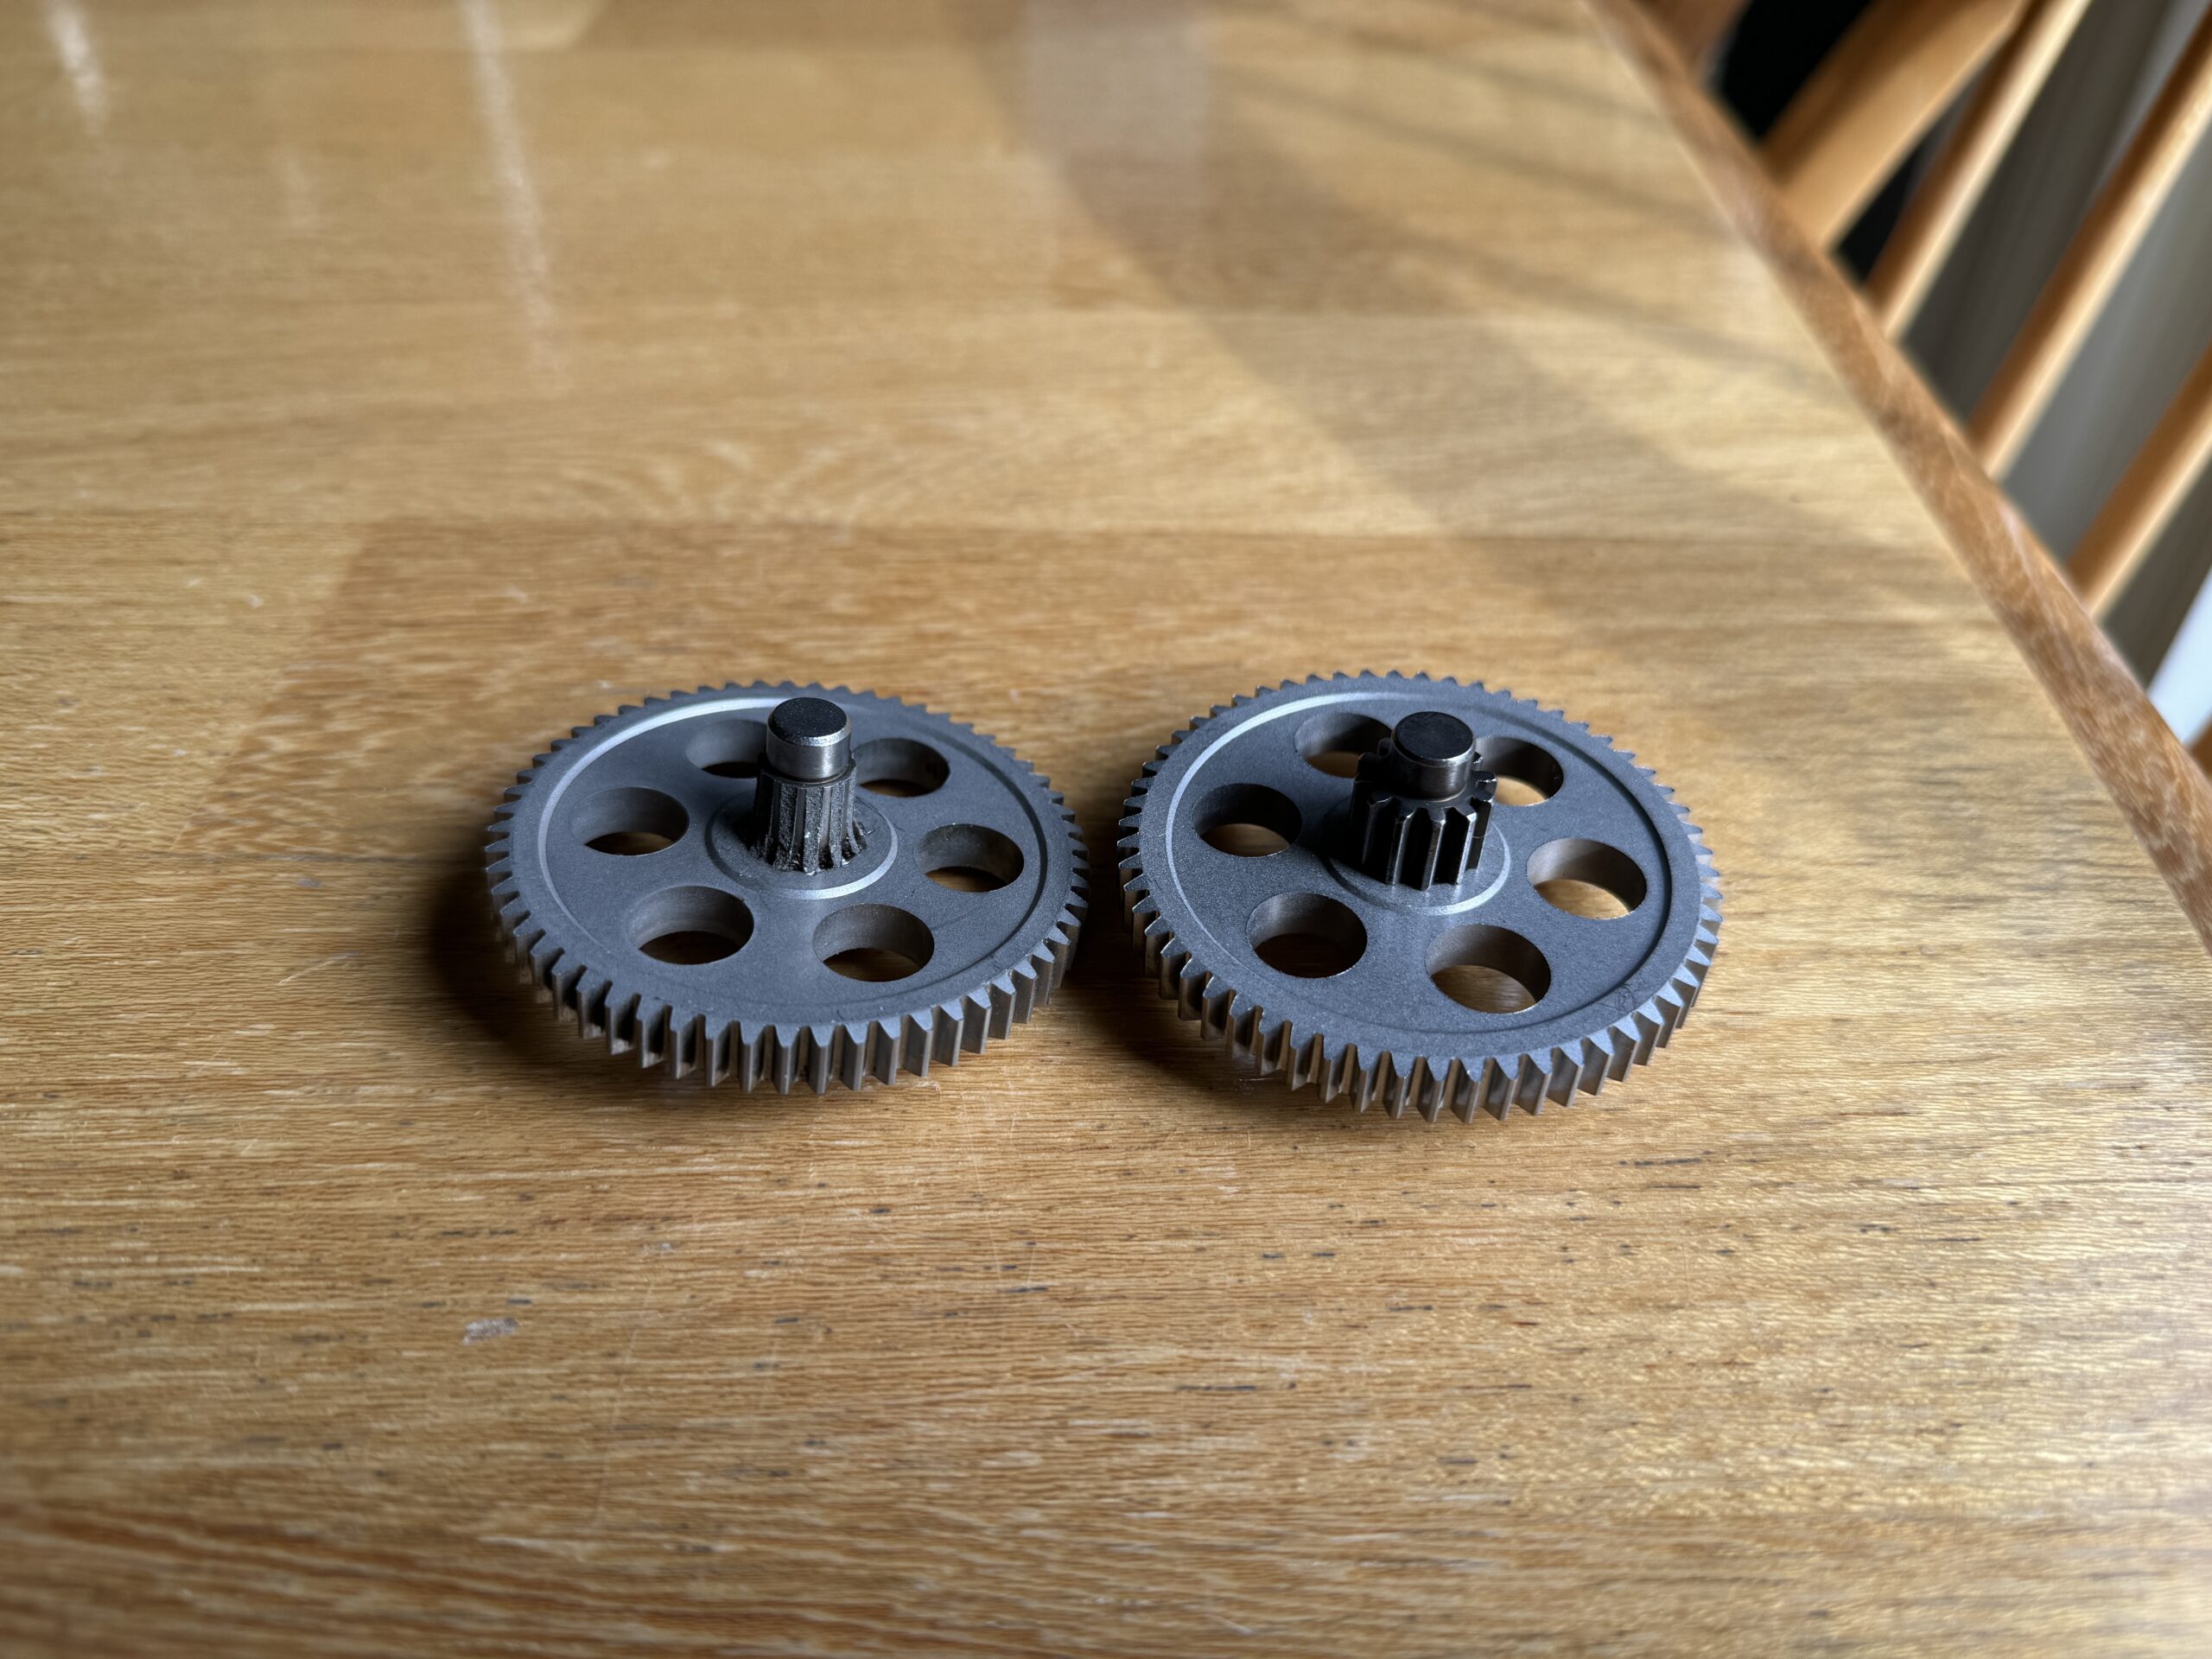
    I pulled apart the gearbox and found the gear that had been stripped. After scouring the web for a while, i found our that basically every brand of planer uses the same gearbox design. That said, the solution they all give you? Replace it, like the whole thing. Minimum $100 up to $250. Shoot, we only bought the planer on KSL for like $50.

    An hour later I found the exact part number for the broken gear (1343910). I ordered it on ToolPartsPro.com and although it took forever, it was the exact same part. Cost? $10.

    Learn how to fix stuff. Might take some time and willpower but save you so much money in the long run.

    Bonus, when this happens again, which it probably will, now I have an extra gear to replace it ASAP![/vc_column_text][/vc_column][vc_column width=”1/2″][vc_single_image image=”471″ img_size=”1920×1080″ alignment=”center”][/vc_column][/vc_row]

  • Broke My Planer…

    [vc_row][vc_column width=”1/2″][vc_column_text]Doing too much woodworking I guess…[/vc_column_text][/vc_column][vc_column width=”1/2″][vc_column_text]

    [/vc_column_text][/vc_column][/vc_row]
  • Hot Tub Time!

    Hot Tub Time!

    [vc_row][vc_column][vc_column_text]

    Now, if you want to know something about me that is a bit strange, I hate the heat. Living in Utah is awesome because there are all 4 seasons and much of the year in under 80° plus, there is actually snow unlike where I grew up in Phoenix, AZ.

    That said, I love hot water. It could be a hot tub, hot springs or even just a nice hot shower; it just feels so good!

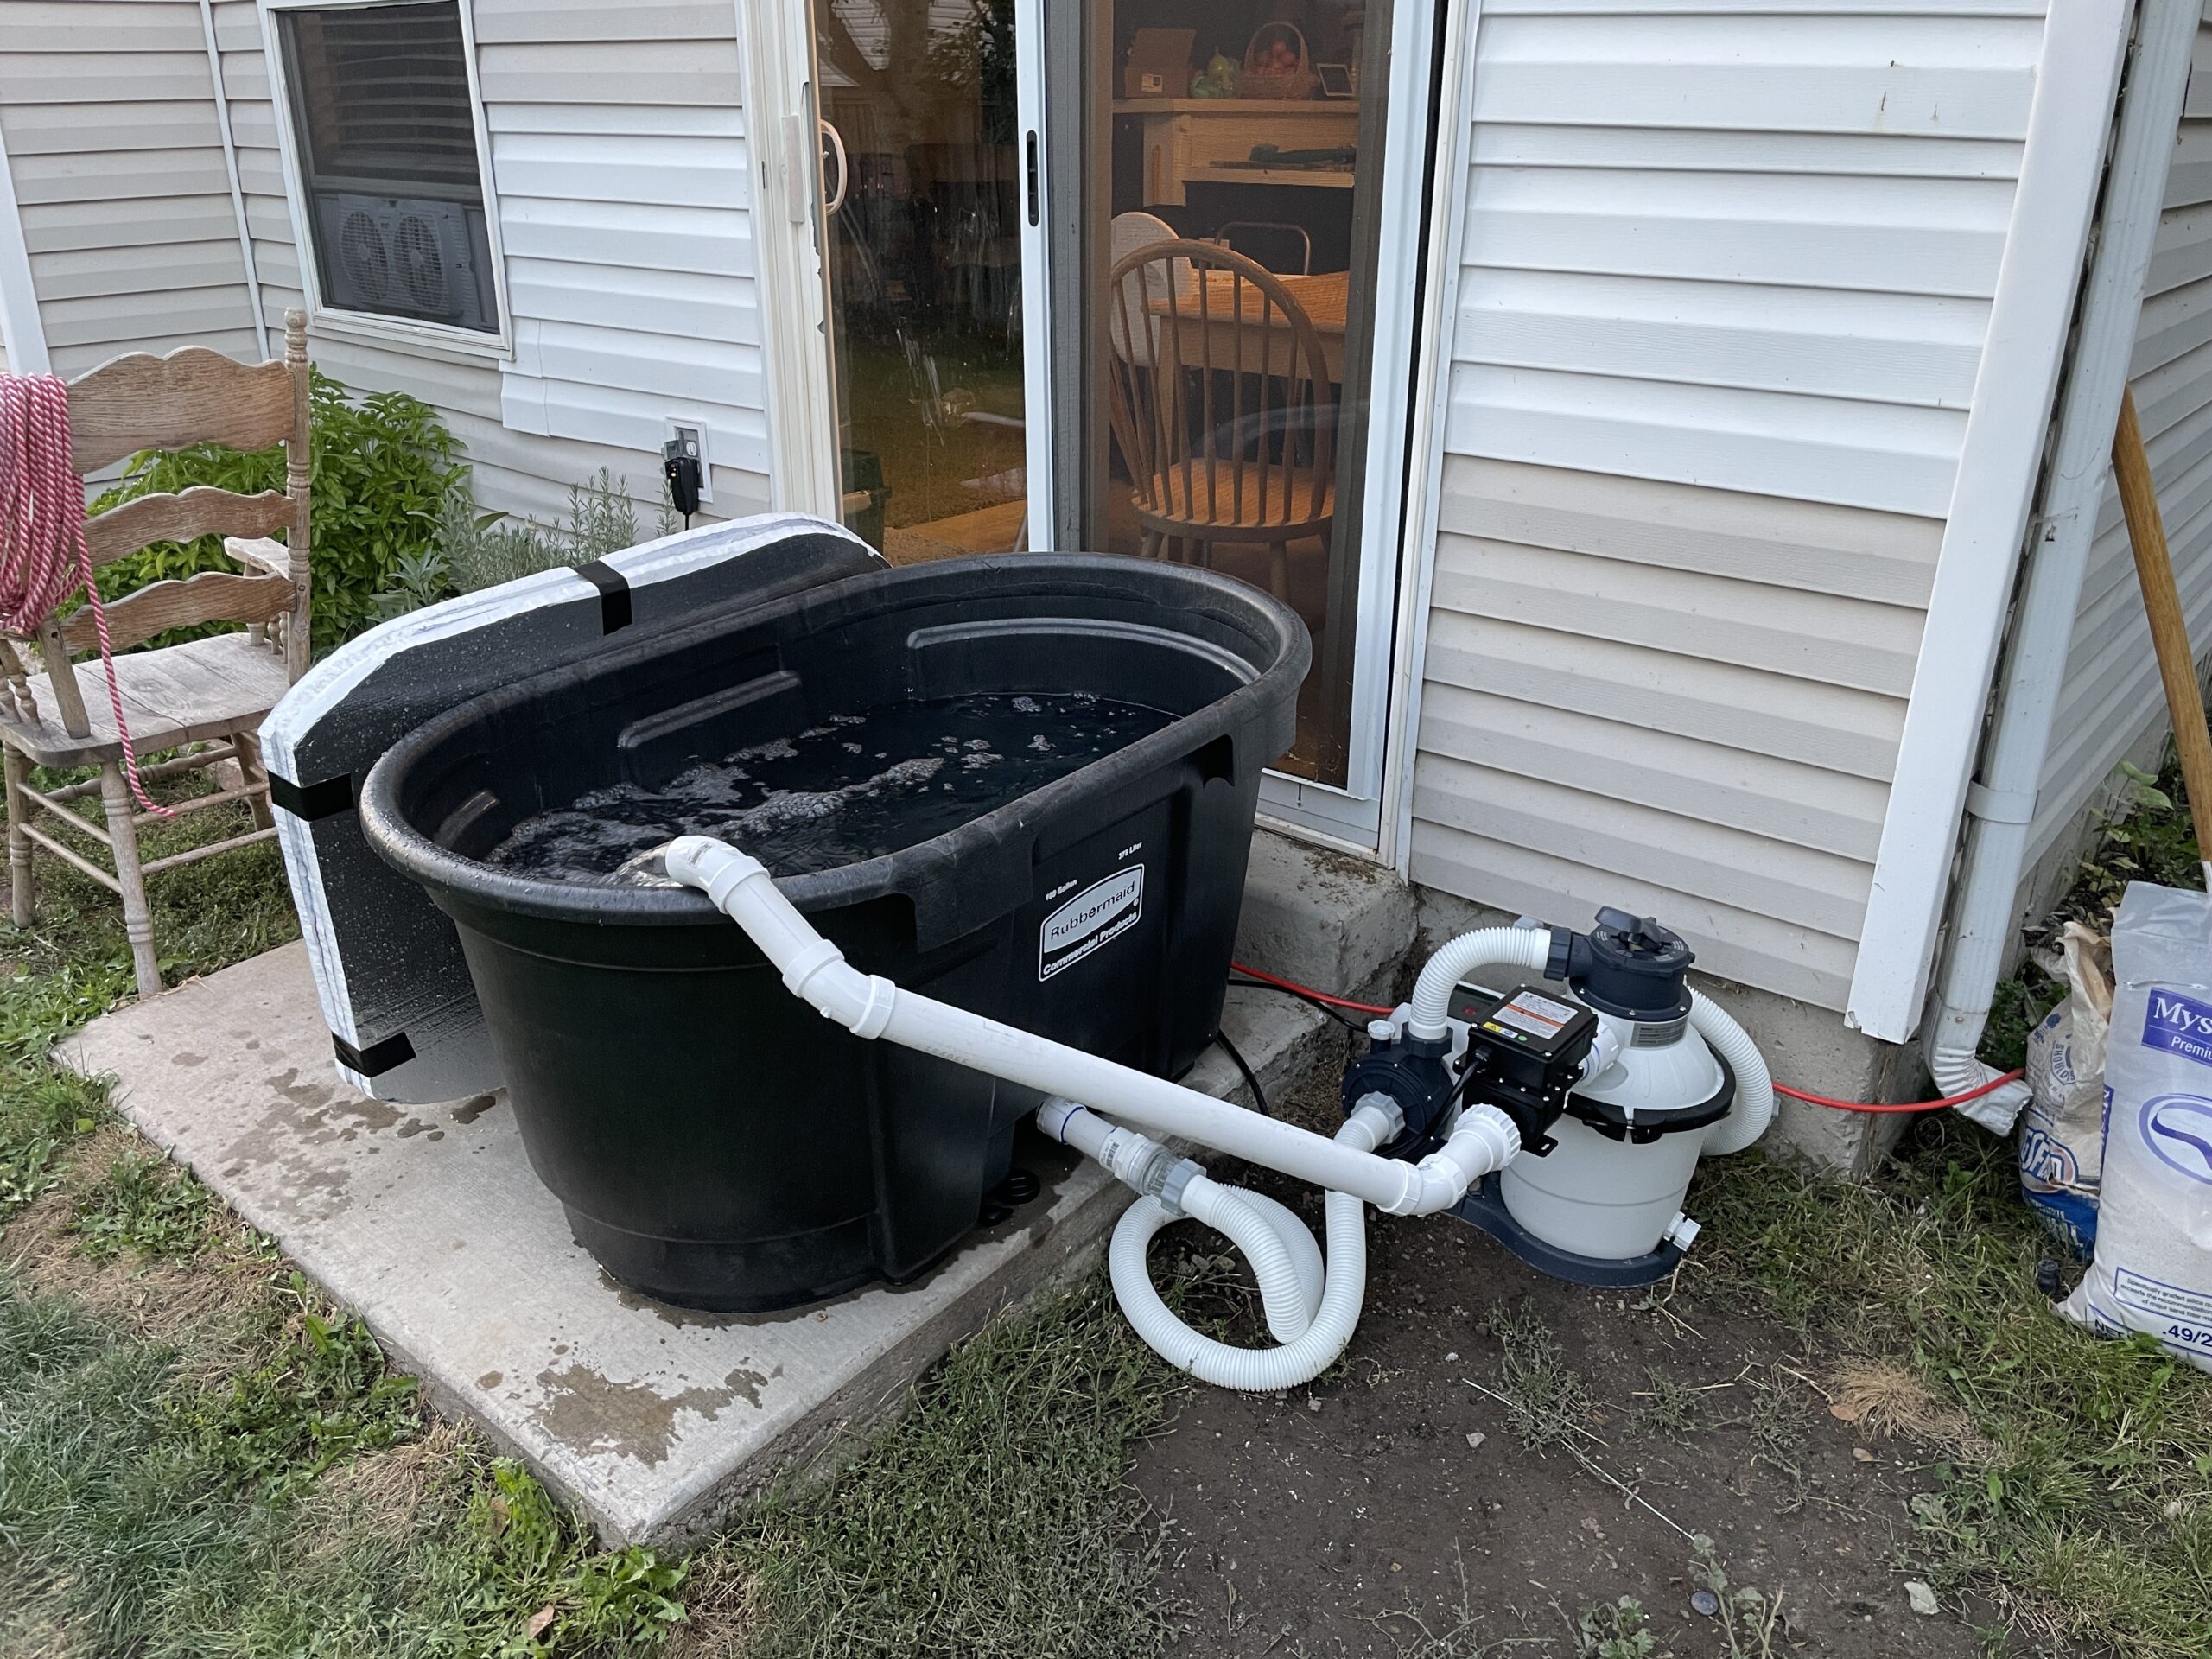
    The gym i used to go to shut down during covid and none of the other local gyms have a pool of hot tub. I didn’t want to hike 5 miles to Fifth Water or sit in the mud pool in Saratoga Springs so I made up my mind to make my own!

    It took some time to get all the parts worked out, (and all the measurements correct), but I made it out of a insulated horse trough. Lol, kinda strange but you can fit all the way inside unlike a bathtub!

    [/vc_column_text][/vc_column][/vc_row][vc_row][vc_column][vc_single_image image=”454″ img_size=”full” alignment=”center”][/vc_column][/vc_row]

  • Leather Belt Clasp Update

    Leather Belt Clasp Update

    [vc_row][vc_column width=”1/4″][/vc_column][vc_column width=”1/2″][vc_column_text]

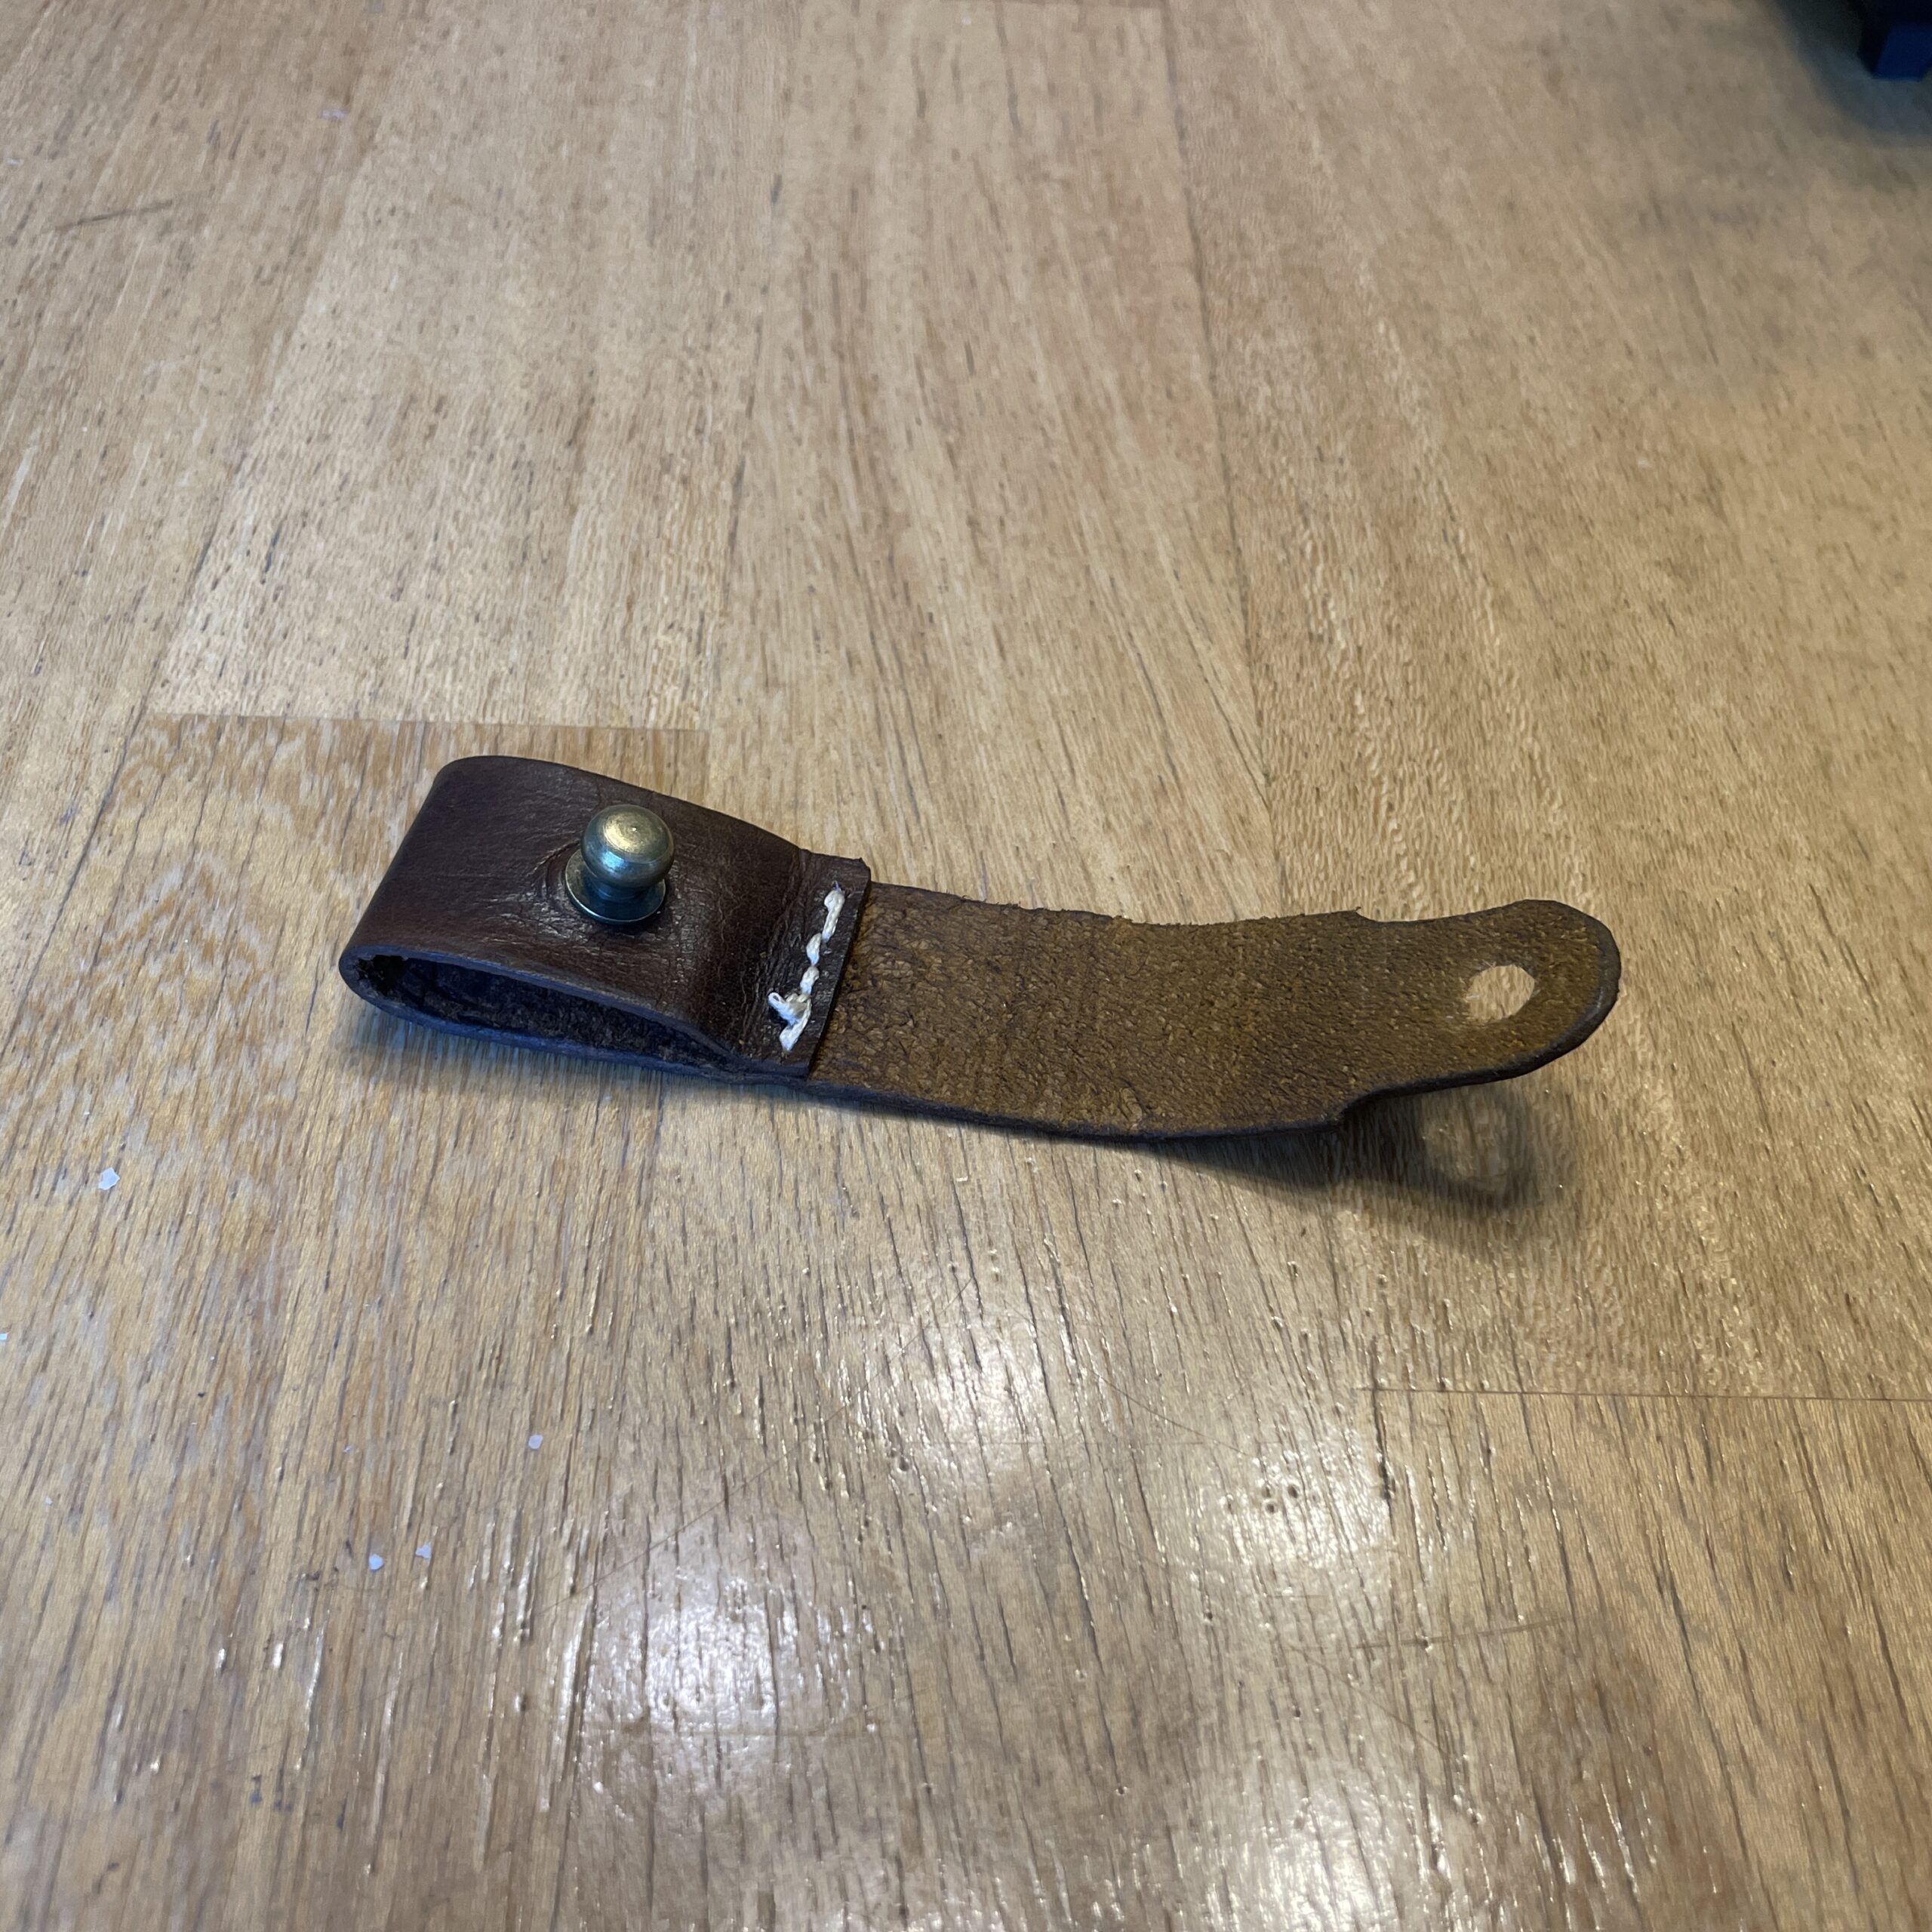
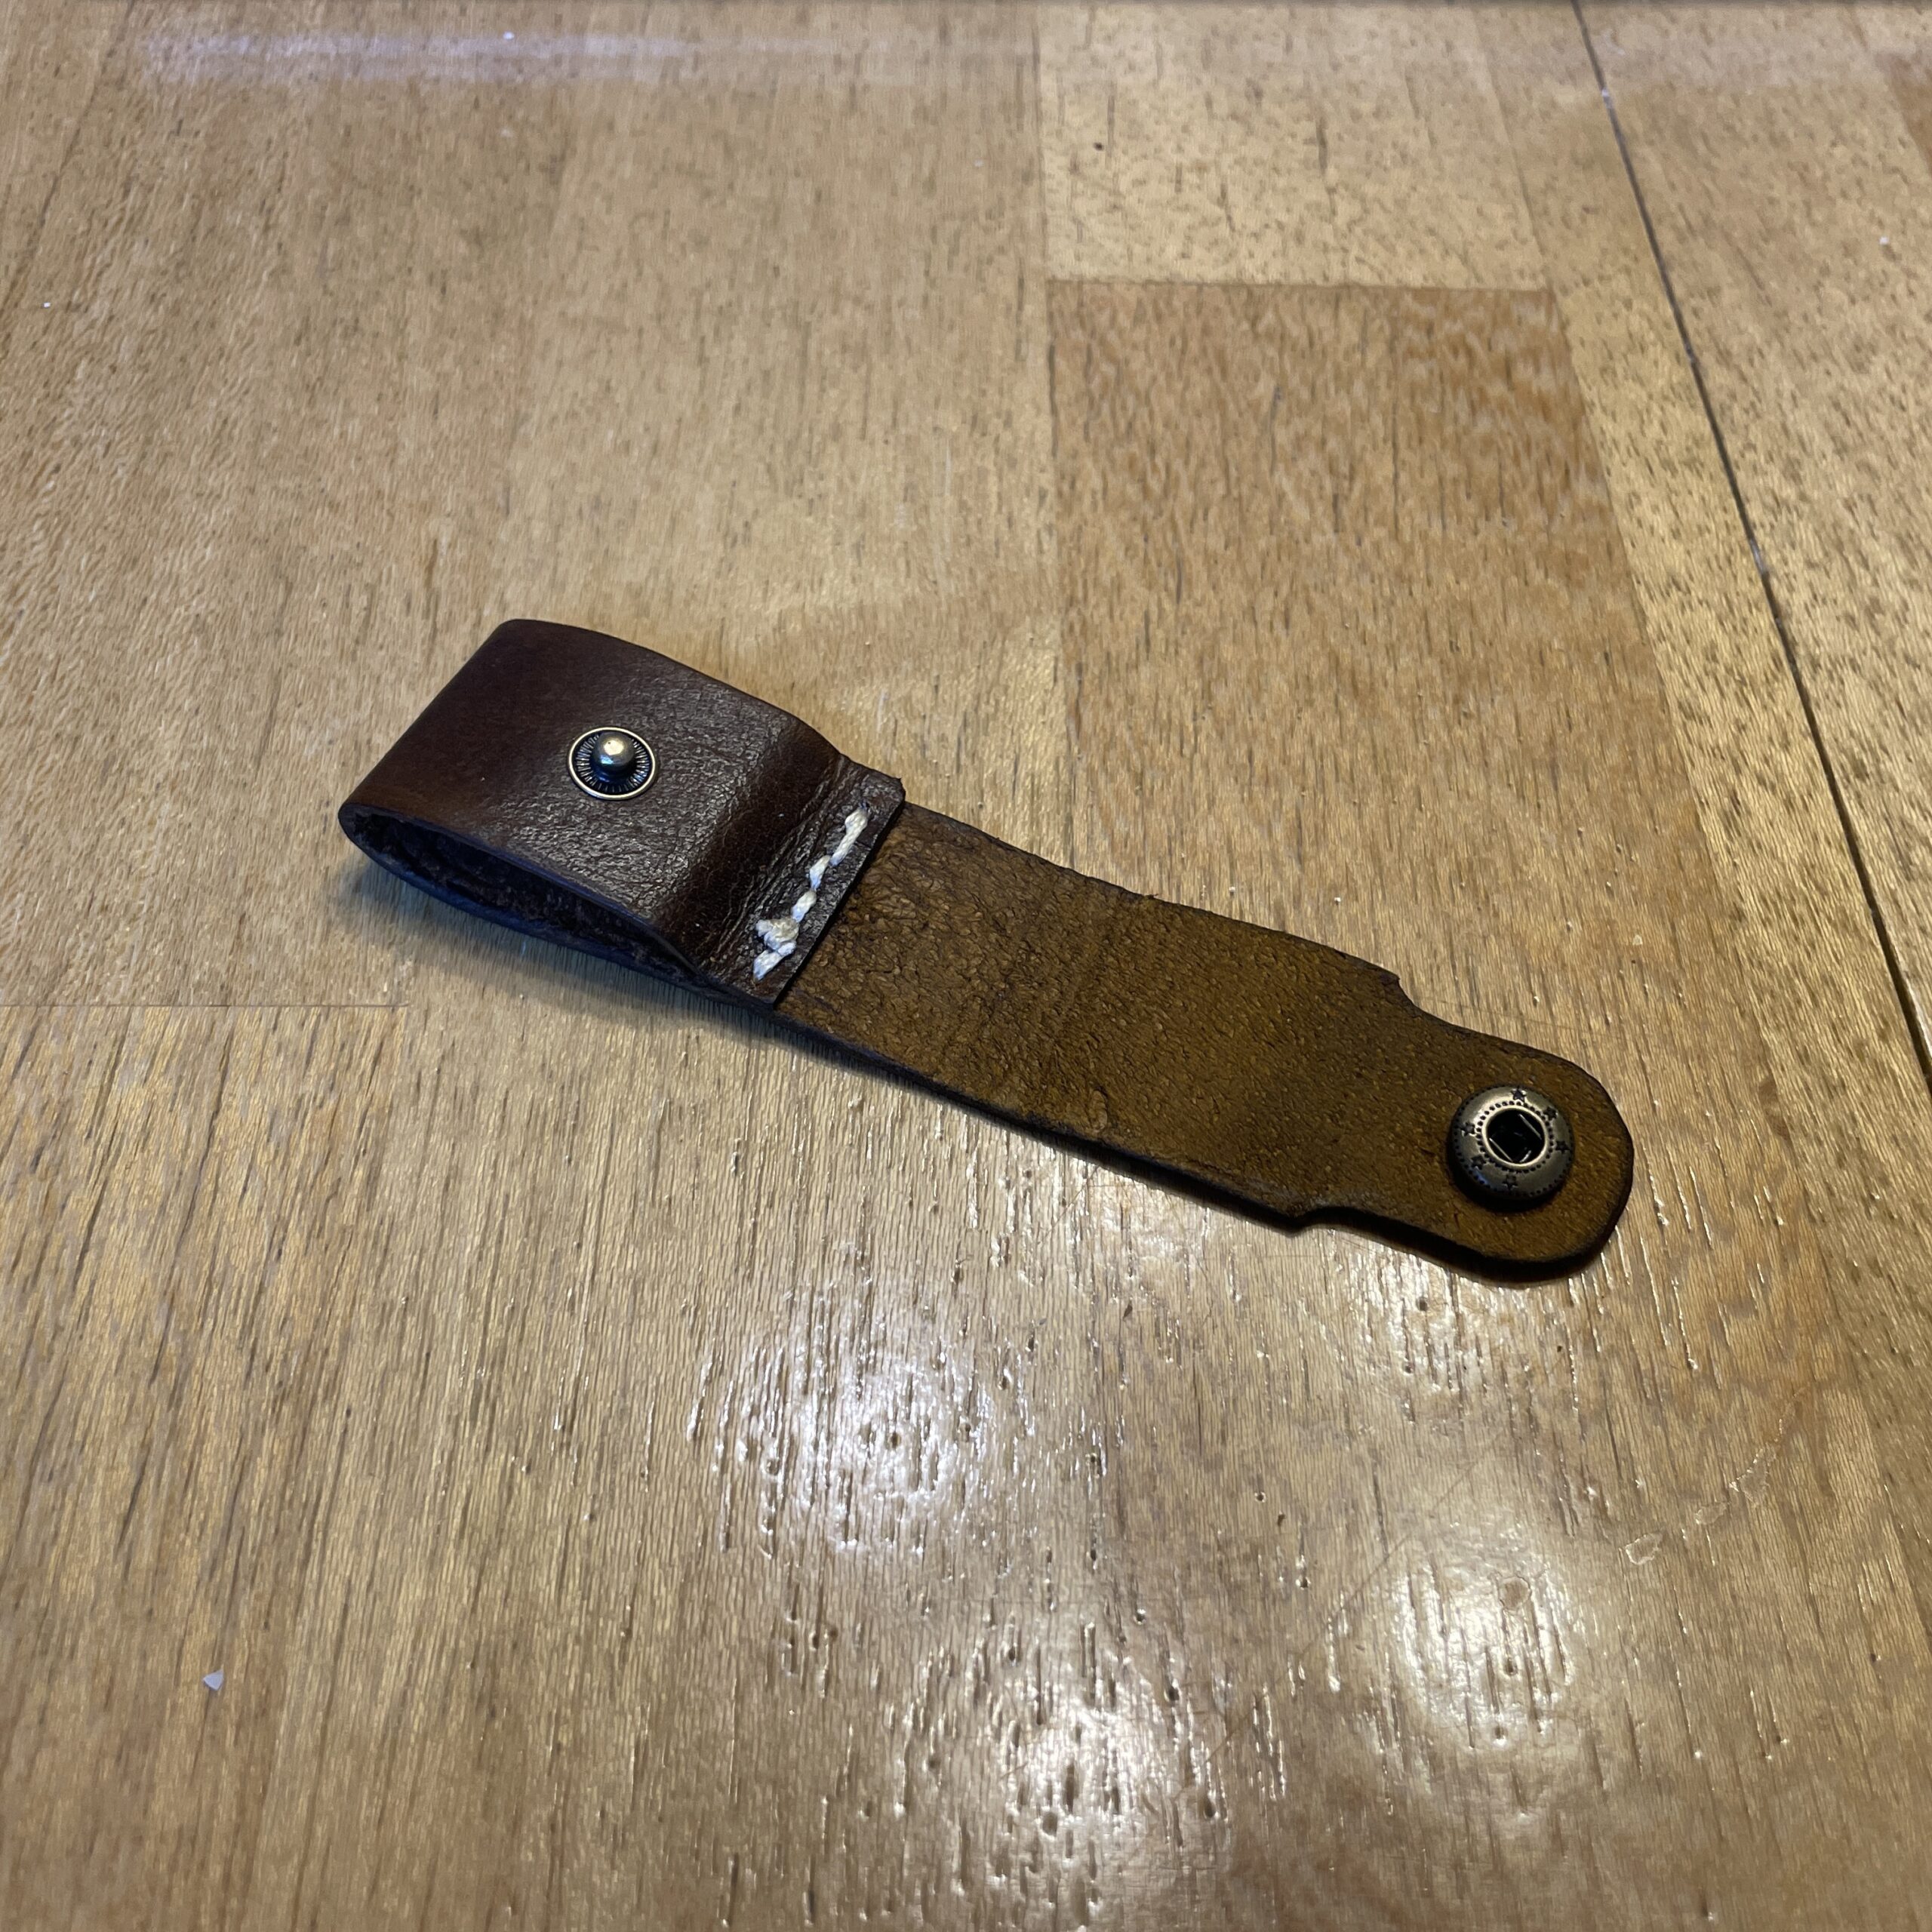
    An update from my last post. I forwent the button and got a brass knob!

    Now it can hold much more weight without coming undone!

    [/vc_column_text][/vc_column][vc_column width=”1/4″][/vc_column][/vc_row][vc_row][vc_column width=”1/2″][vc_single_image image=”452″ img_size=”medium” alignment=”center”][/vc_column][vc_column width=”1/2″][vc_single_image image=”453″ img_size=”medium” alignment=”center”][/vc_column][/vc_row]

  • Beginnings in Leatherworking

    Beginnings in Leatherworking

    [vc_row][vc_column width=”1/2″][vc_column_text]During my recent adventure to Stewart Falls, I realized that the thing that annoys me the most during hiking is having to hold my water bottle. I normally don’t carry a backpack that has water bottle pockets and if I do, I’m not really able to pull my water bottle out of that pocket without stopping to retrieve it which I would rather not do.

    My solution? Leather belt clasp! No more stopping on the trail.

    I have wanted to get into leatherworking for a bit and needed a small project to test with; this was perfect!

    The button is a little too lightweight for the heavy water bottle so I’ll need to get a bigger one or make another with space for two buttons. Next I want to try a small satchel and eventually a leather book cover![/vc_column_text][vc_single_image image=”443″ img_size=”medium” alignment=”center”][/vc_column][vc_column width=”1/2″][vc_single_image image=”448″ img_size=”large” alignment=”center”][/vc_column][/vc_row]

  • Beginning of a Terrarium

    Beginning of a Terrarium

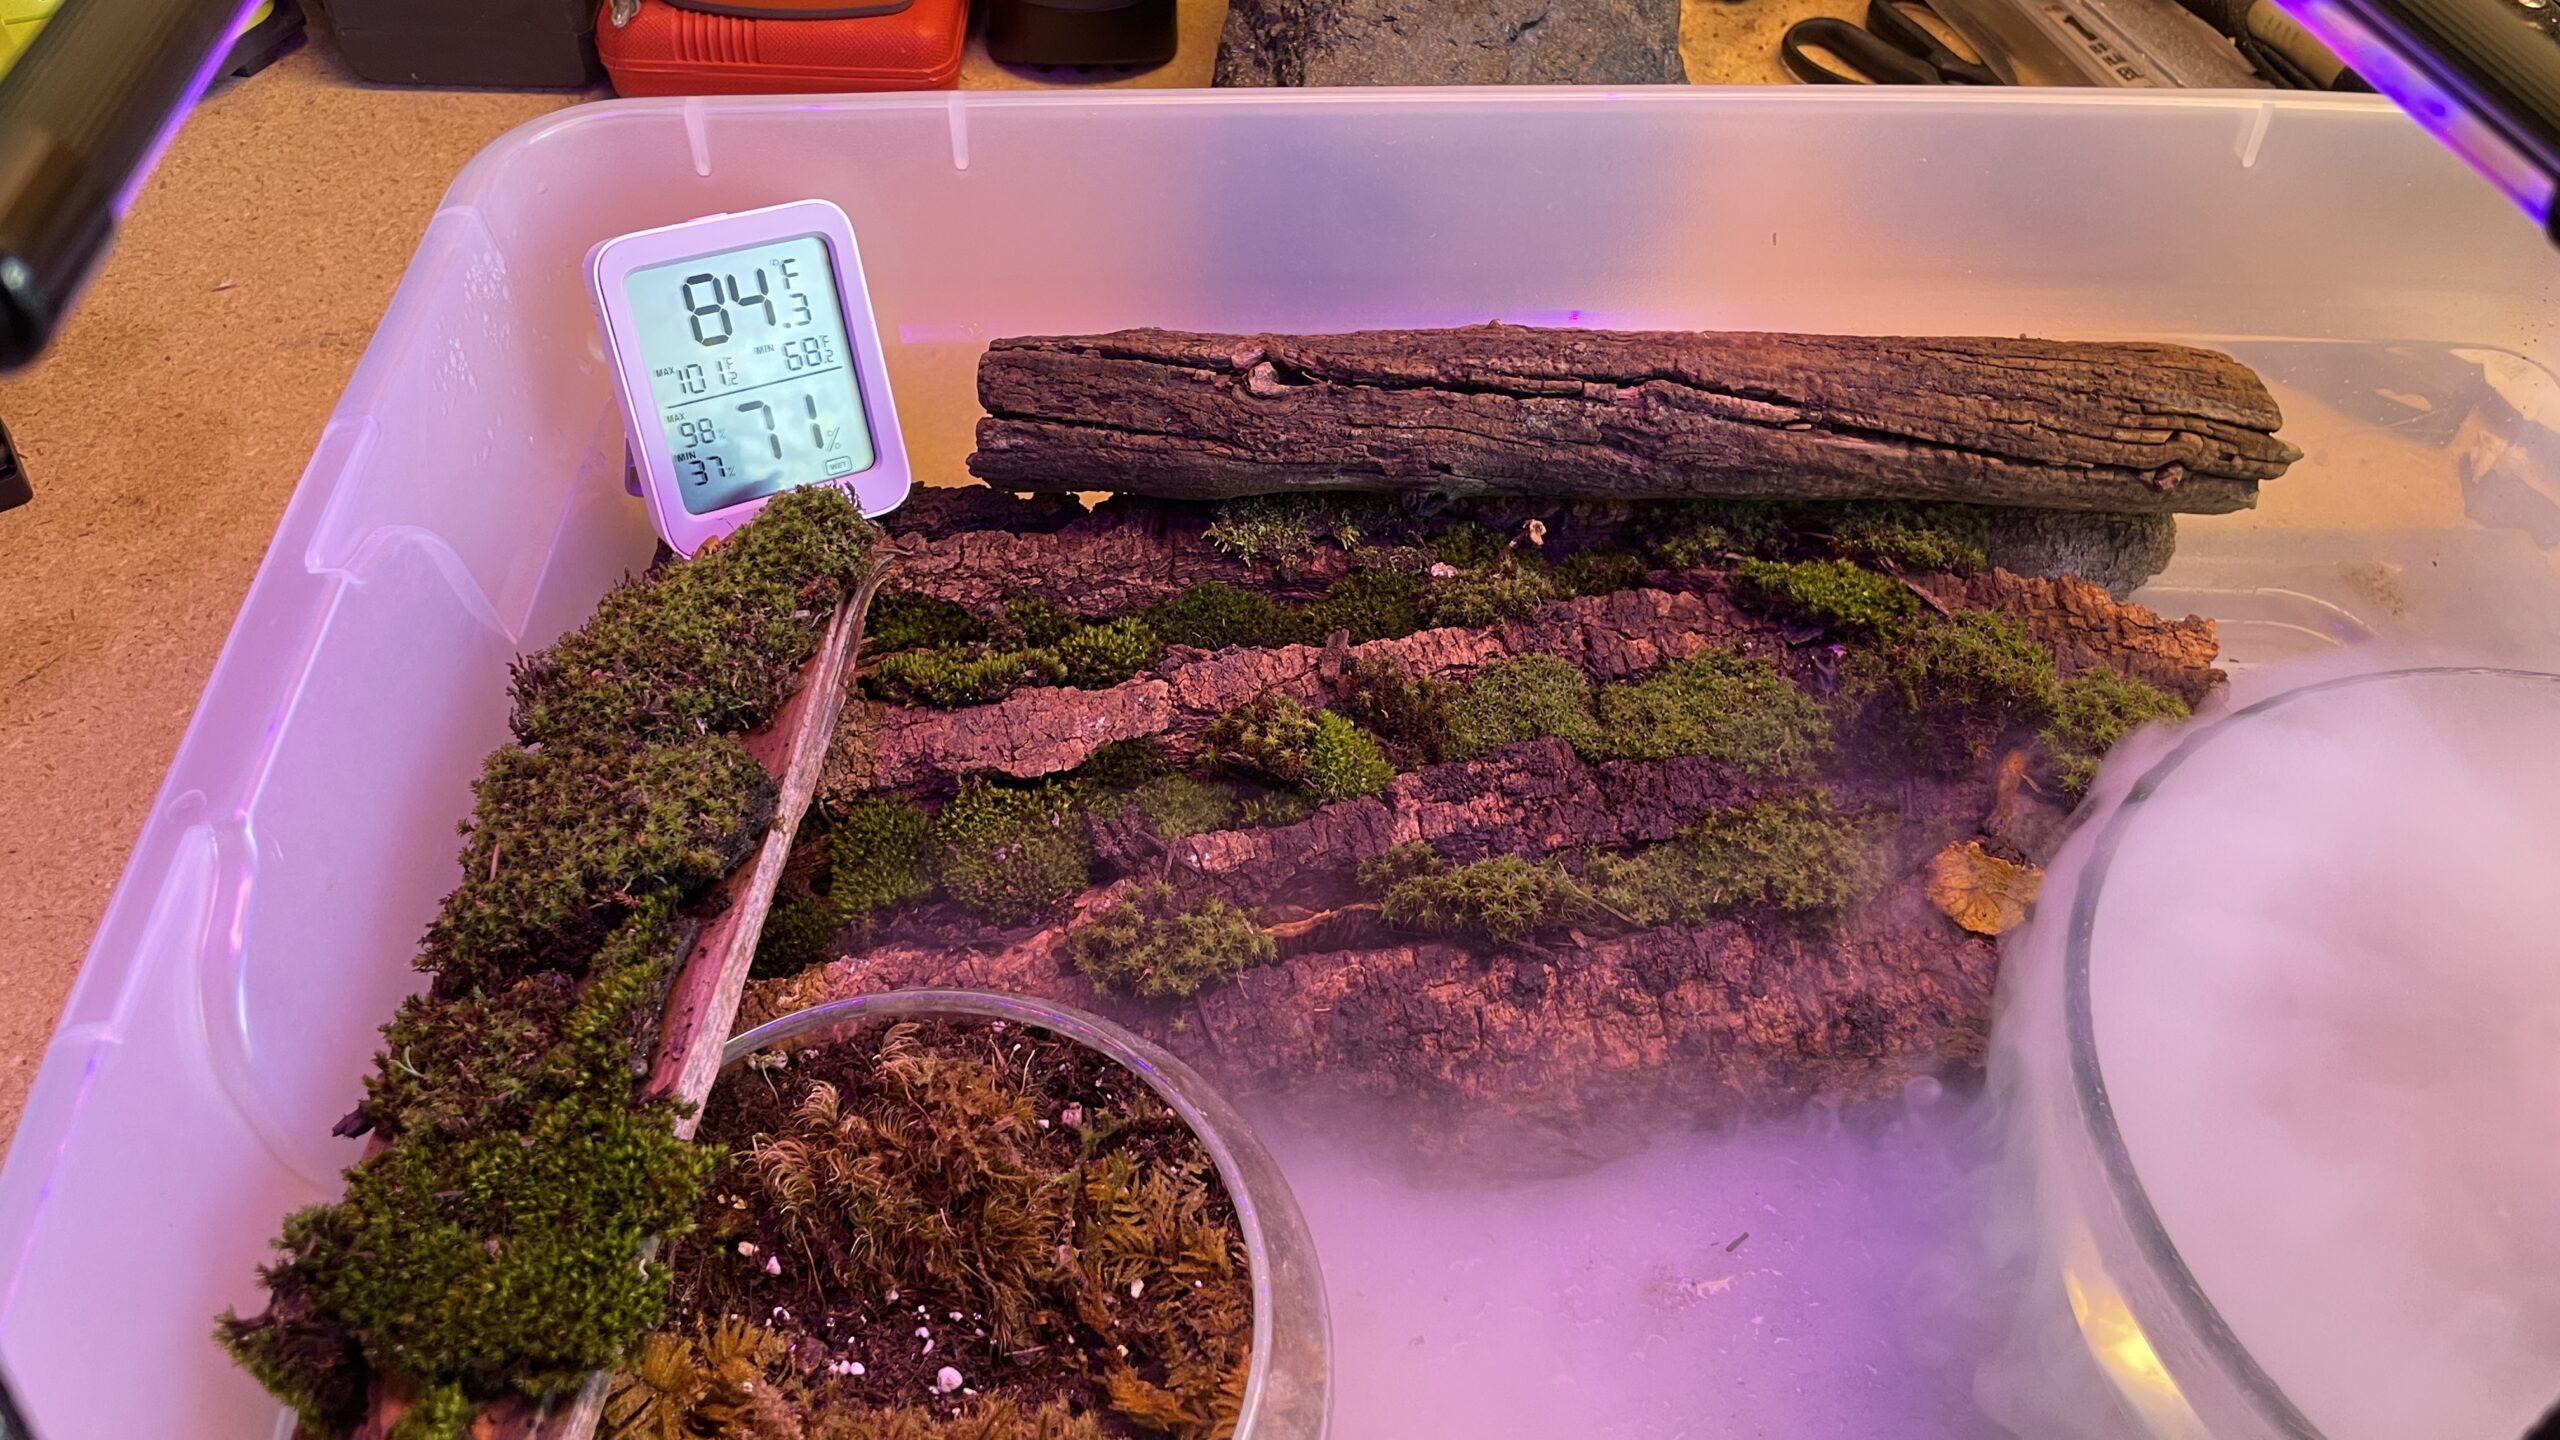
    [vc_row][vc_column width=”1/2″][vc_column_text]I have always been interested in slow growing plants; bonsai, moss, terrariums, mushrooms. Because of that, I have always wanted a make a moss garden. Well, today’s the day!

    I bought an ultrasonic water mister for Halloween decorations to keep the humidity high and boy does it work!

    Still working on getting a bigger/nicer looking box and some airflow but it’s turning out well so far.[/vc_column_text][/vc_column][vc_column width=”1/2″][vc_single_image image=”402″ img_size=”large” alignment=”center”][/vc_column][/vc_row]

  • Experiments with MIDI

    Experiments with MIDI

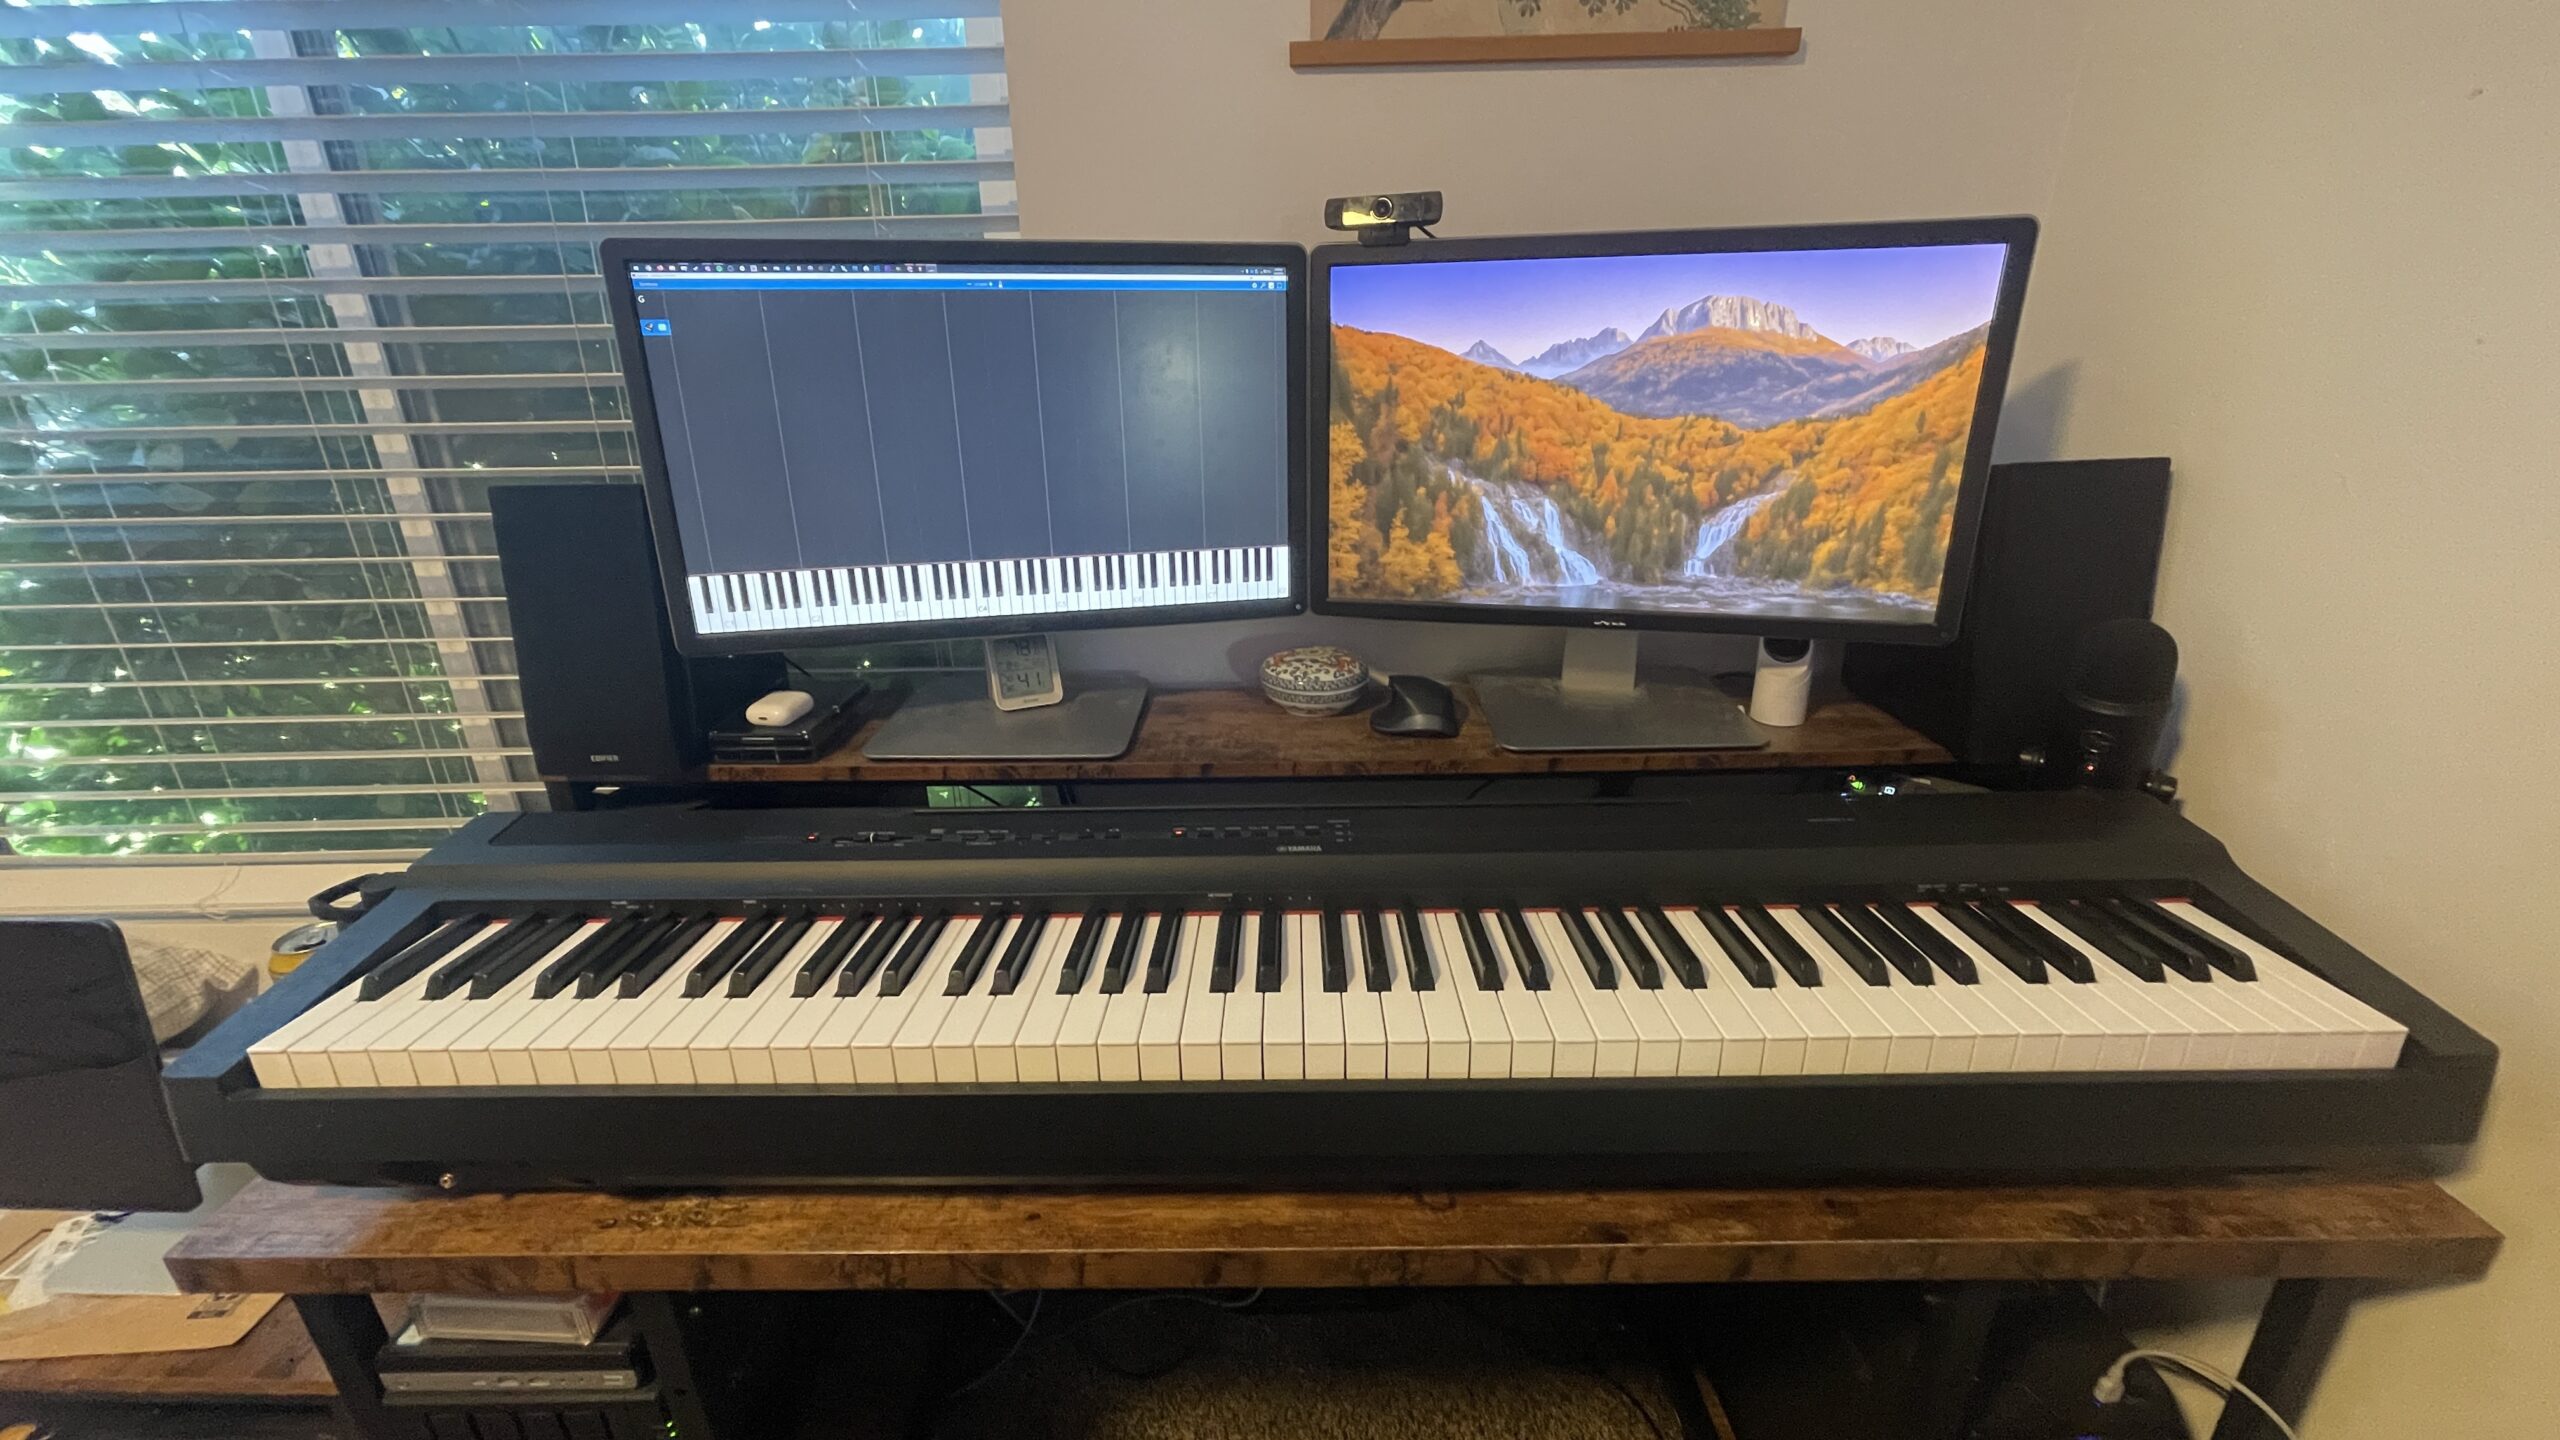
    [vc_row][vc_column][vc_column_text]I recently learned that most organs have MIDI I/O ports. I hooked up my brothers piano to my computer and am figuring out how to write the Super Mario – Bowsers Castle Theme to MIDI so I can play it on the organ in the church building![/vc_column_text][/vc_column][/vc_row][vc_row][vc_column][vc_single_image image=”394″ img_size=”Full”][/vc_column][/vc_row]

  • Woodworking Progress [Update 2]

    Woodworking Progress [Update 2]

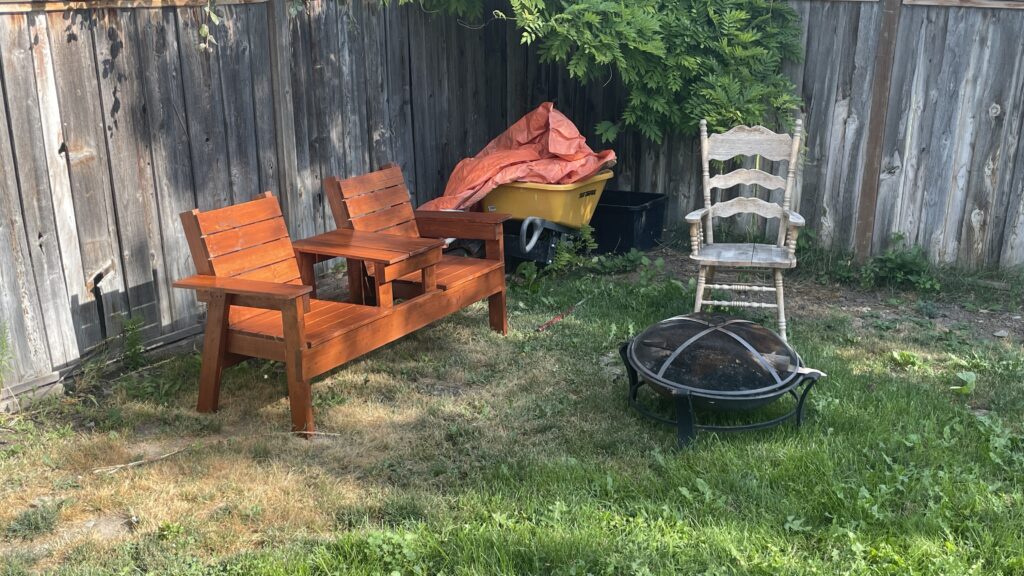
    [vc_row][vc_column][vc_column_text]Yesterday, I was sitting on the couch and I noticed my brother sitting in the backyard on an old porch chair enjoying the outdoors. I thought to myself, I bet that i could make a chair a little better that that one.

    Well, 24 hours later and 8 hours of sweat in the 100° heat and I built something that my brother and his wife can enjoy in the backyard by the campfire![/vc_column_text][/vc_column][/vc_row][vc_row][vc_column width=”1/6″][/vc_column][vc_column width=”2/3″][vc_single_image image=”341″ img_size=”1920×1080″ alignment=”center”][/vc_column][vc_column width=”1/6″][/vc_column][/vc_row][vc_row][vc_column][vc_column_text]I’ll make a another post on how I made it and when I have it sanded/finished!

    For now, here is a list of what I used:[/vc_column_text][/vc_column][/vc_row][vc_row][vc_column width=”1/3″][vc_column_text]

    Tools Needed:

    • Circular Saw
    • Jig Saw
    • Drill
    • Tape Measure / Ruler / Pencil
    Optional:
    • Orbital Sander
    • Square
    • Clamps

    [/vc_column_text][/vc_column][vc_column width=”1/3″][vc_column_text]

    Parts Supplies:

    • 2″ Deck Screws
    • 2 1/2″ Deck Screws
    • 3″ Deck Screws
    • Drill Bit (For Pilot Holes)
    • 120/220 Sandpaper (Blocks are nice)

    [/vc_column_text][/vc_column][vc_column width=”1/3″][vc_column_text]

    Wood Supplies:

    • 2″ x 6″ x 96″ (8ft) | Quantity 1
    • 1″ x 6″ x 96″ (8ft) | Quantity 2
    • 2″ x 4″ x 96″ (8ft) | Quantity 5
    • 1″ x 4″ x 96″ (8ft) | Quantity 6

    [/vc_column_text][/vc_column][/vc_row]
  • Shrooms

    Shrooms

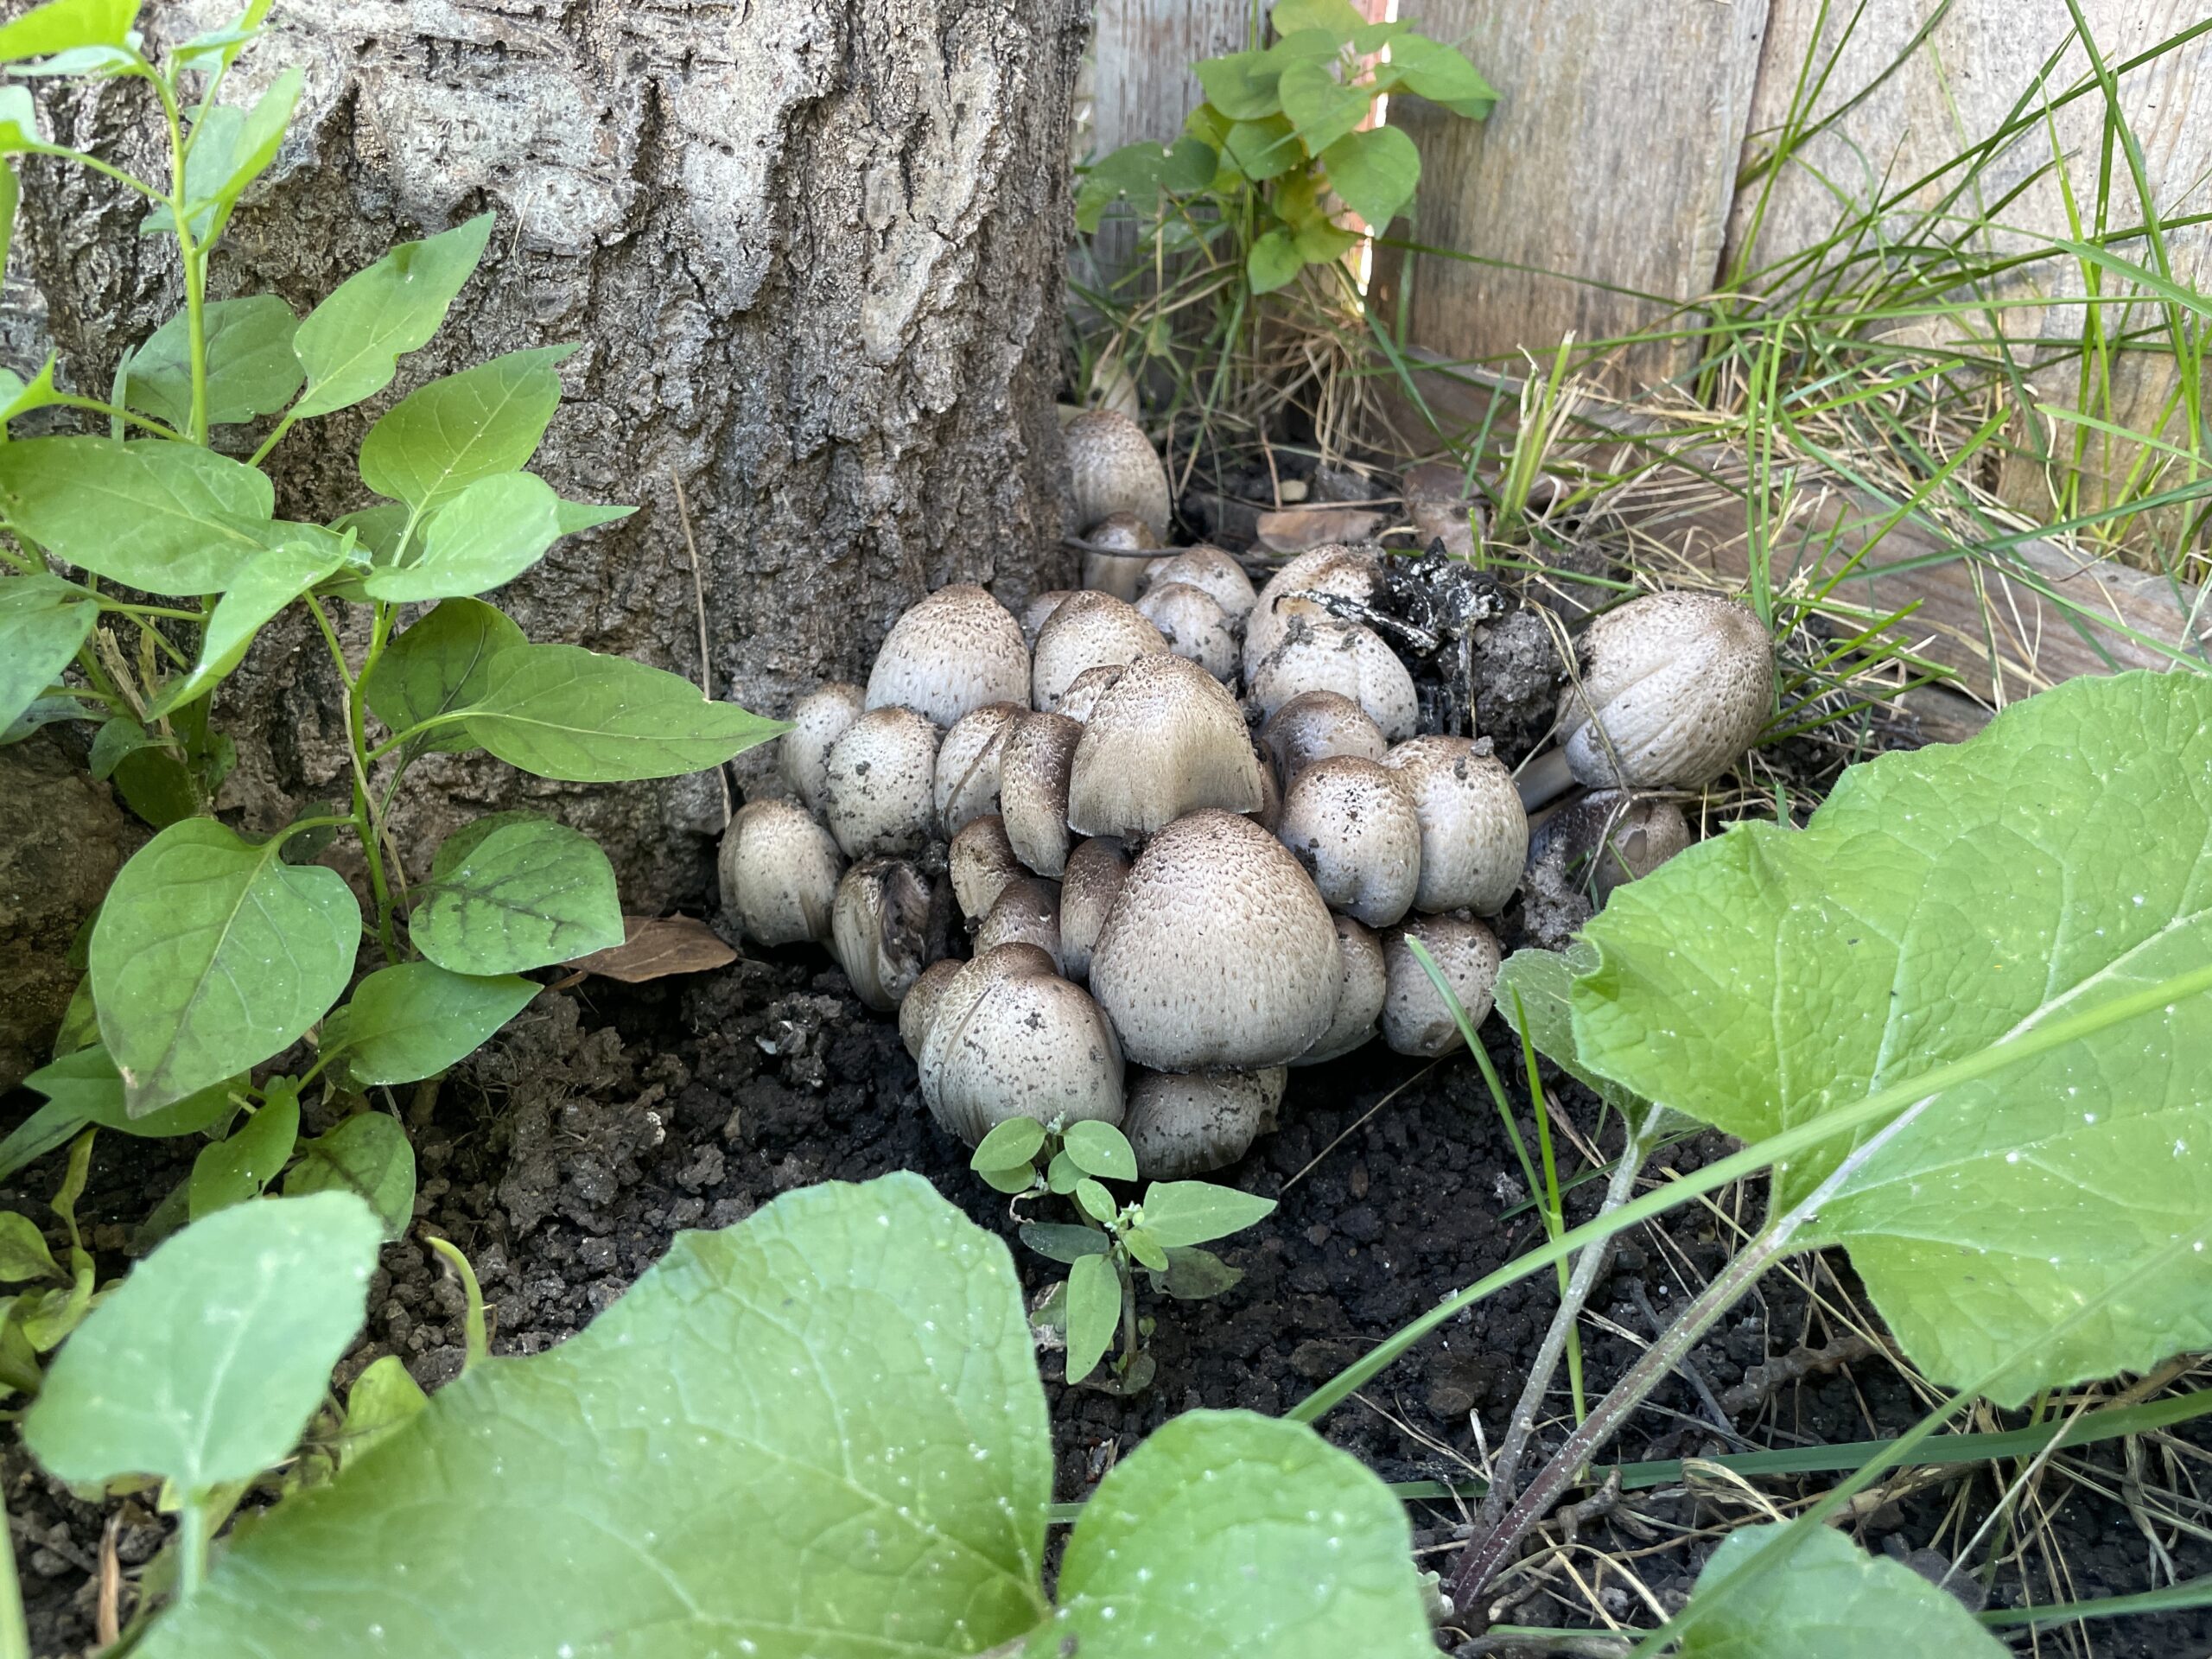
    [vc_row][vc_column width=”1/2″][vc_column_text]Found a mushroom colony in my backyard! It has been raining for weeks and my yard is mostly sand/clay so it is the perfect environment for it to grow.

    They only lasted about 2 days though…

    Reminds me of this art piece I saw on r/goblincore![/vc_column_text][/vc_column][vc_column width=”1/2″][vc_single_image image=”320″ img_size=”medium” alignment=”center”][/vc_column][/vc_row][vc_row][vc_column][vc_single_image image=”330″ img_size=”1920×1080″ alignment=”center”][/vc_column][/vc_row]

  • Beginnings in Woodworking

    Beginnings in Woodworking

    [vc_row][vc_column width=”1/2″][vc_column_text]

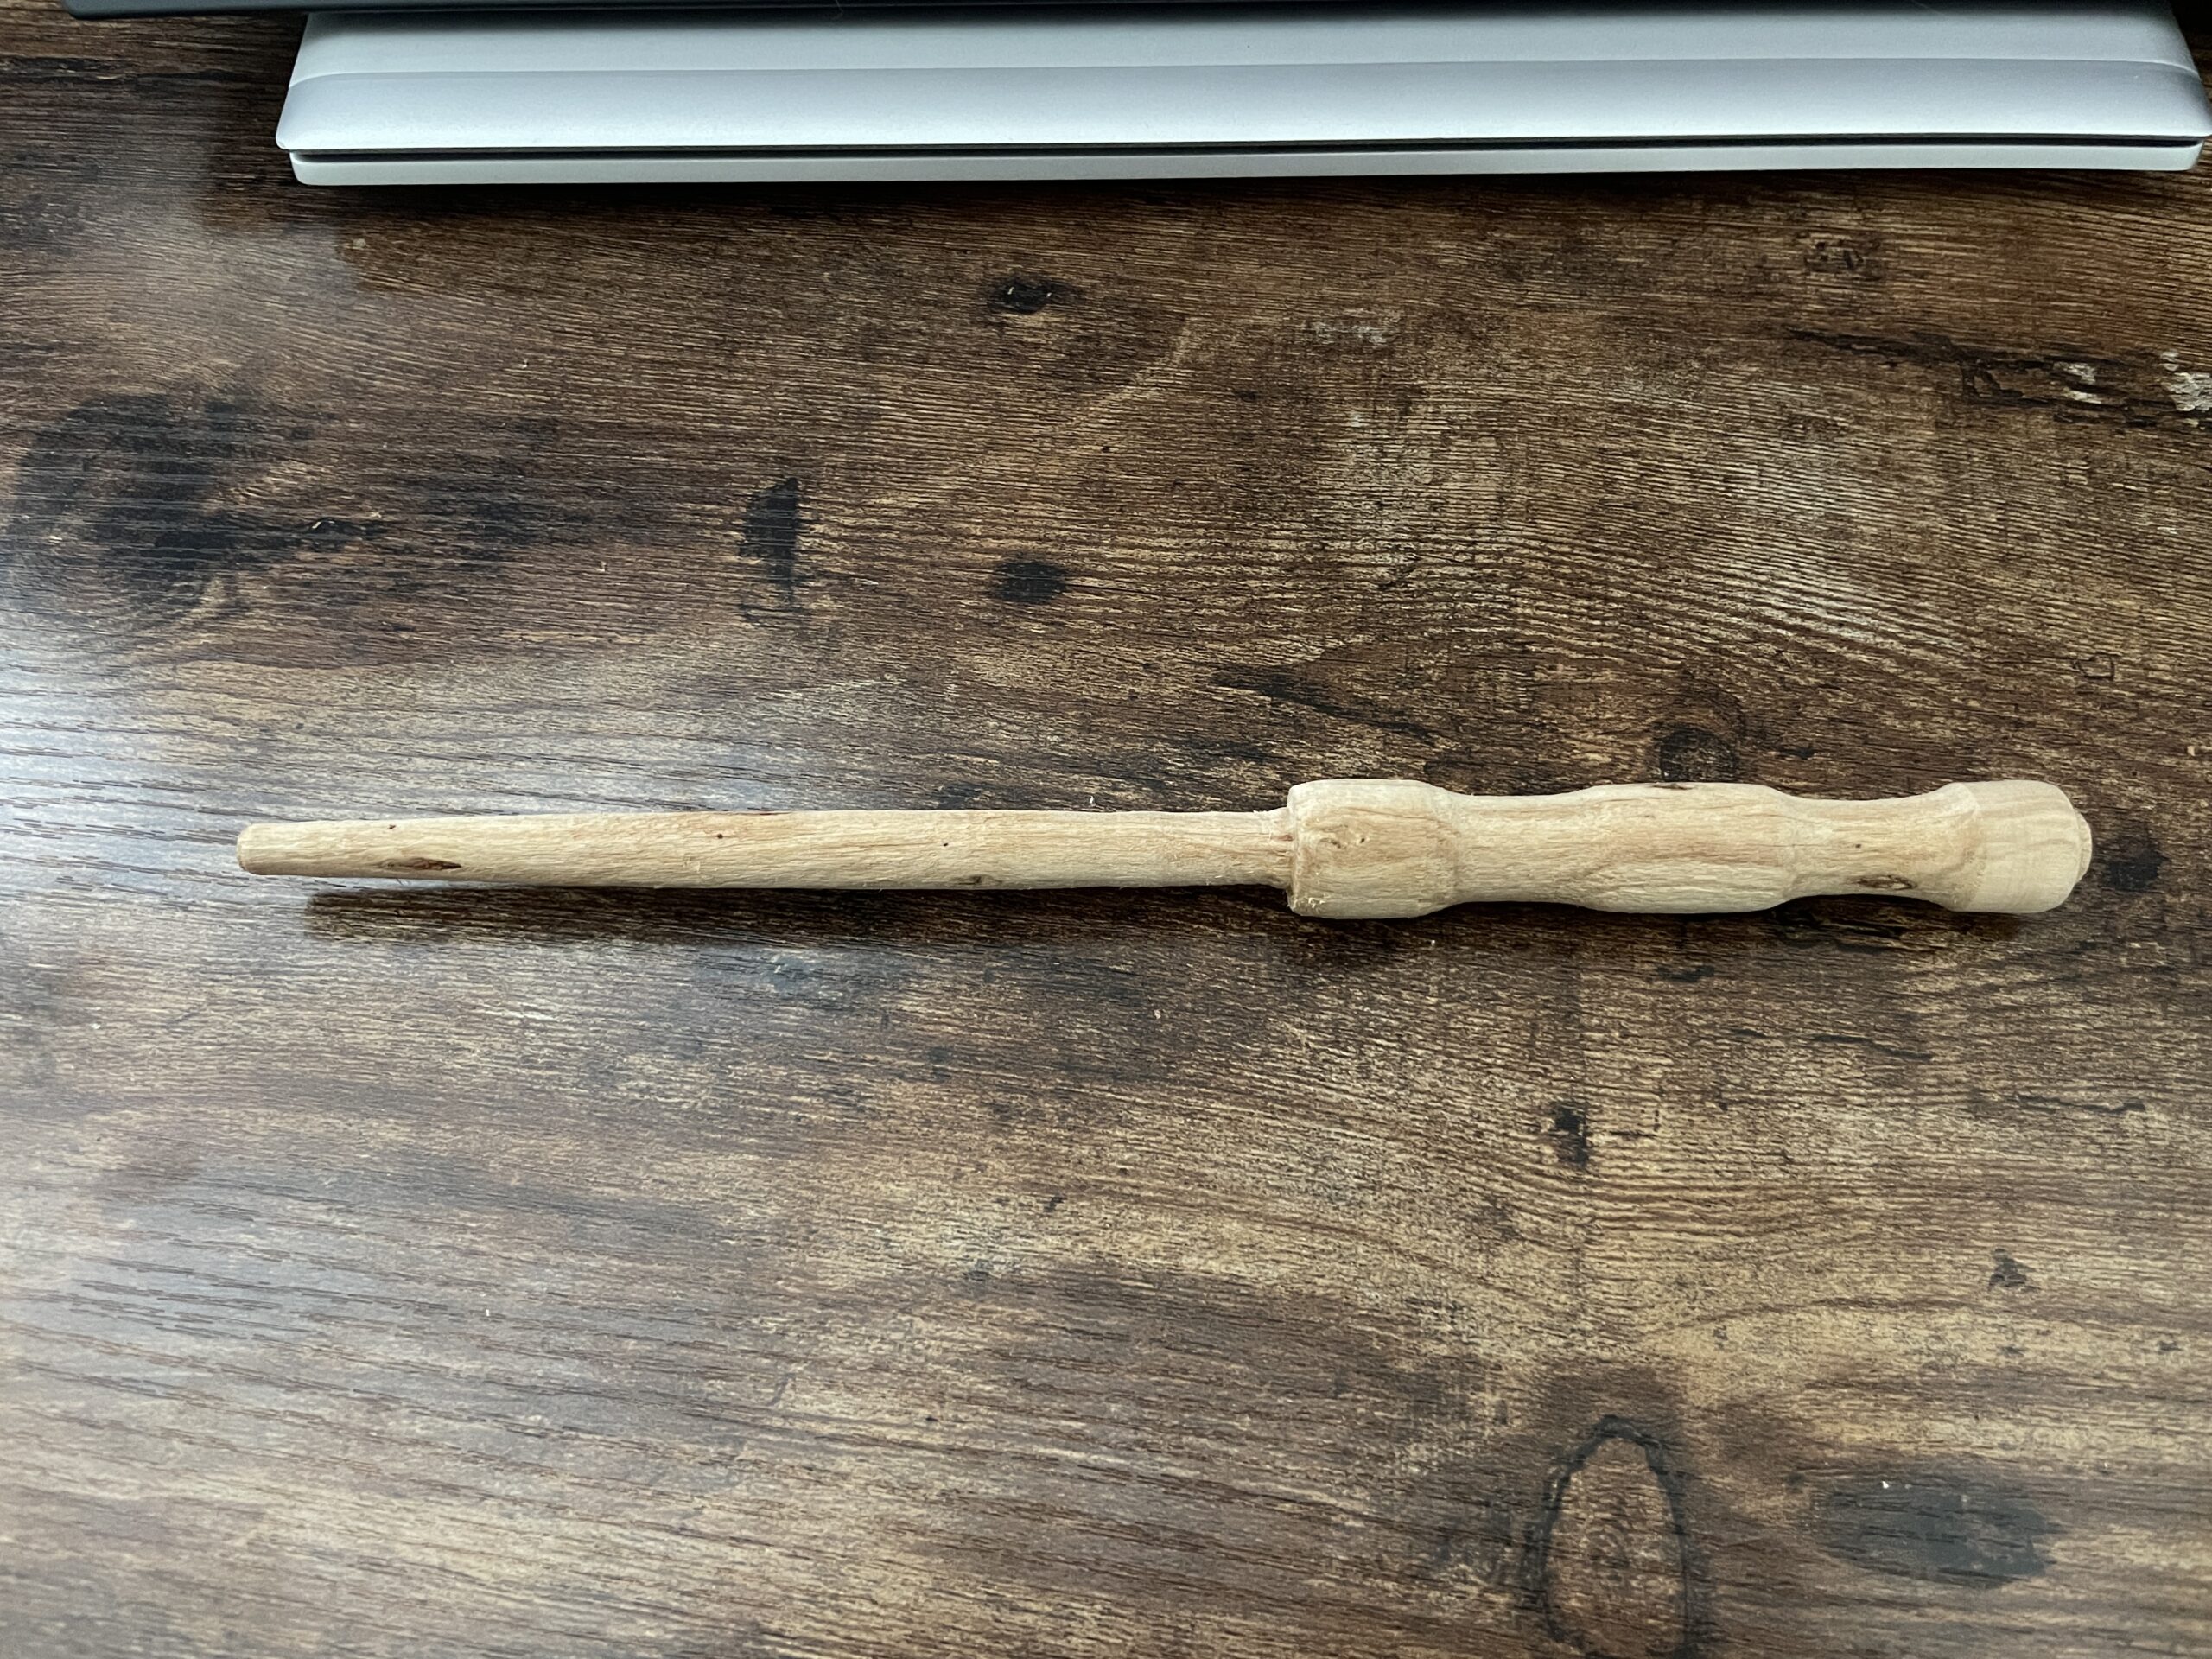
    A month or two ago my brother purchased a wood lathe. I decided to get some practice on it since I have always been interested in woodworking. It’s a bit more difficult than I anticipated! It’s probably due to the type of wood I was using though.

    The easiest thing I could think of to make was a Harry Potter wand!

    It’s a start!


    [/vc_column_text][/vc_column][vc_column width=”1/2″][vc_single_image image=”243″ img_size=”medium” alignment=”center”][/vc_column][/vc_row]

  • Japanese Lamp

    Japanese Lamp

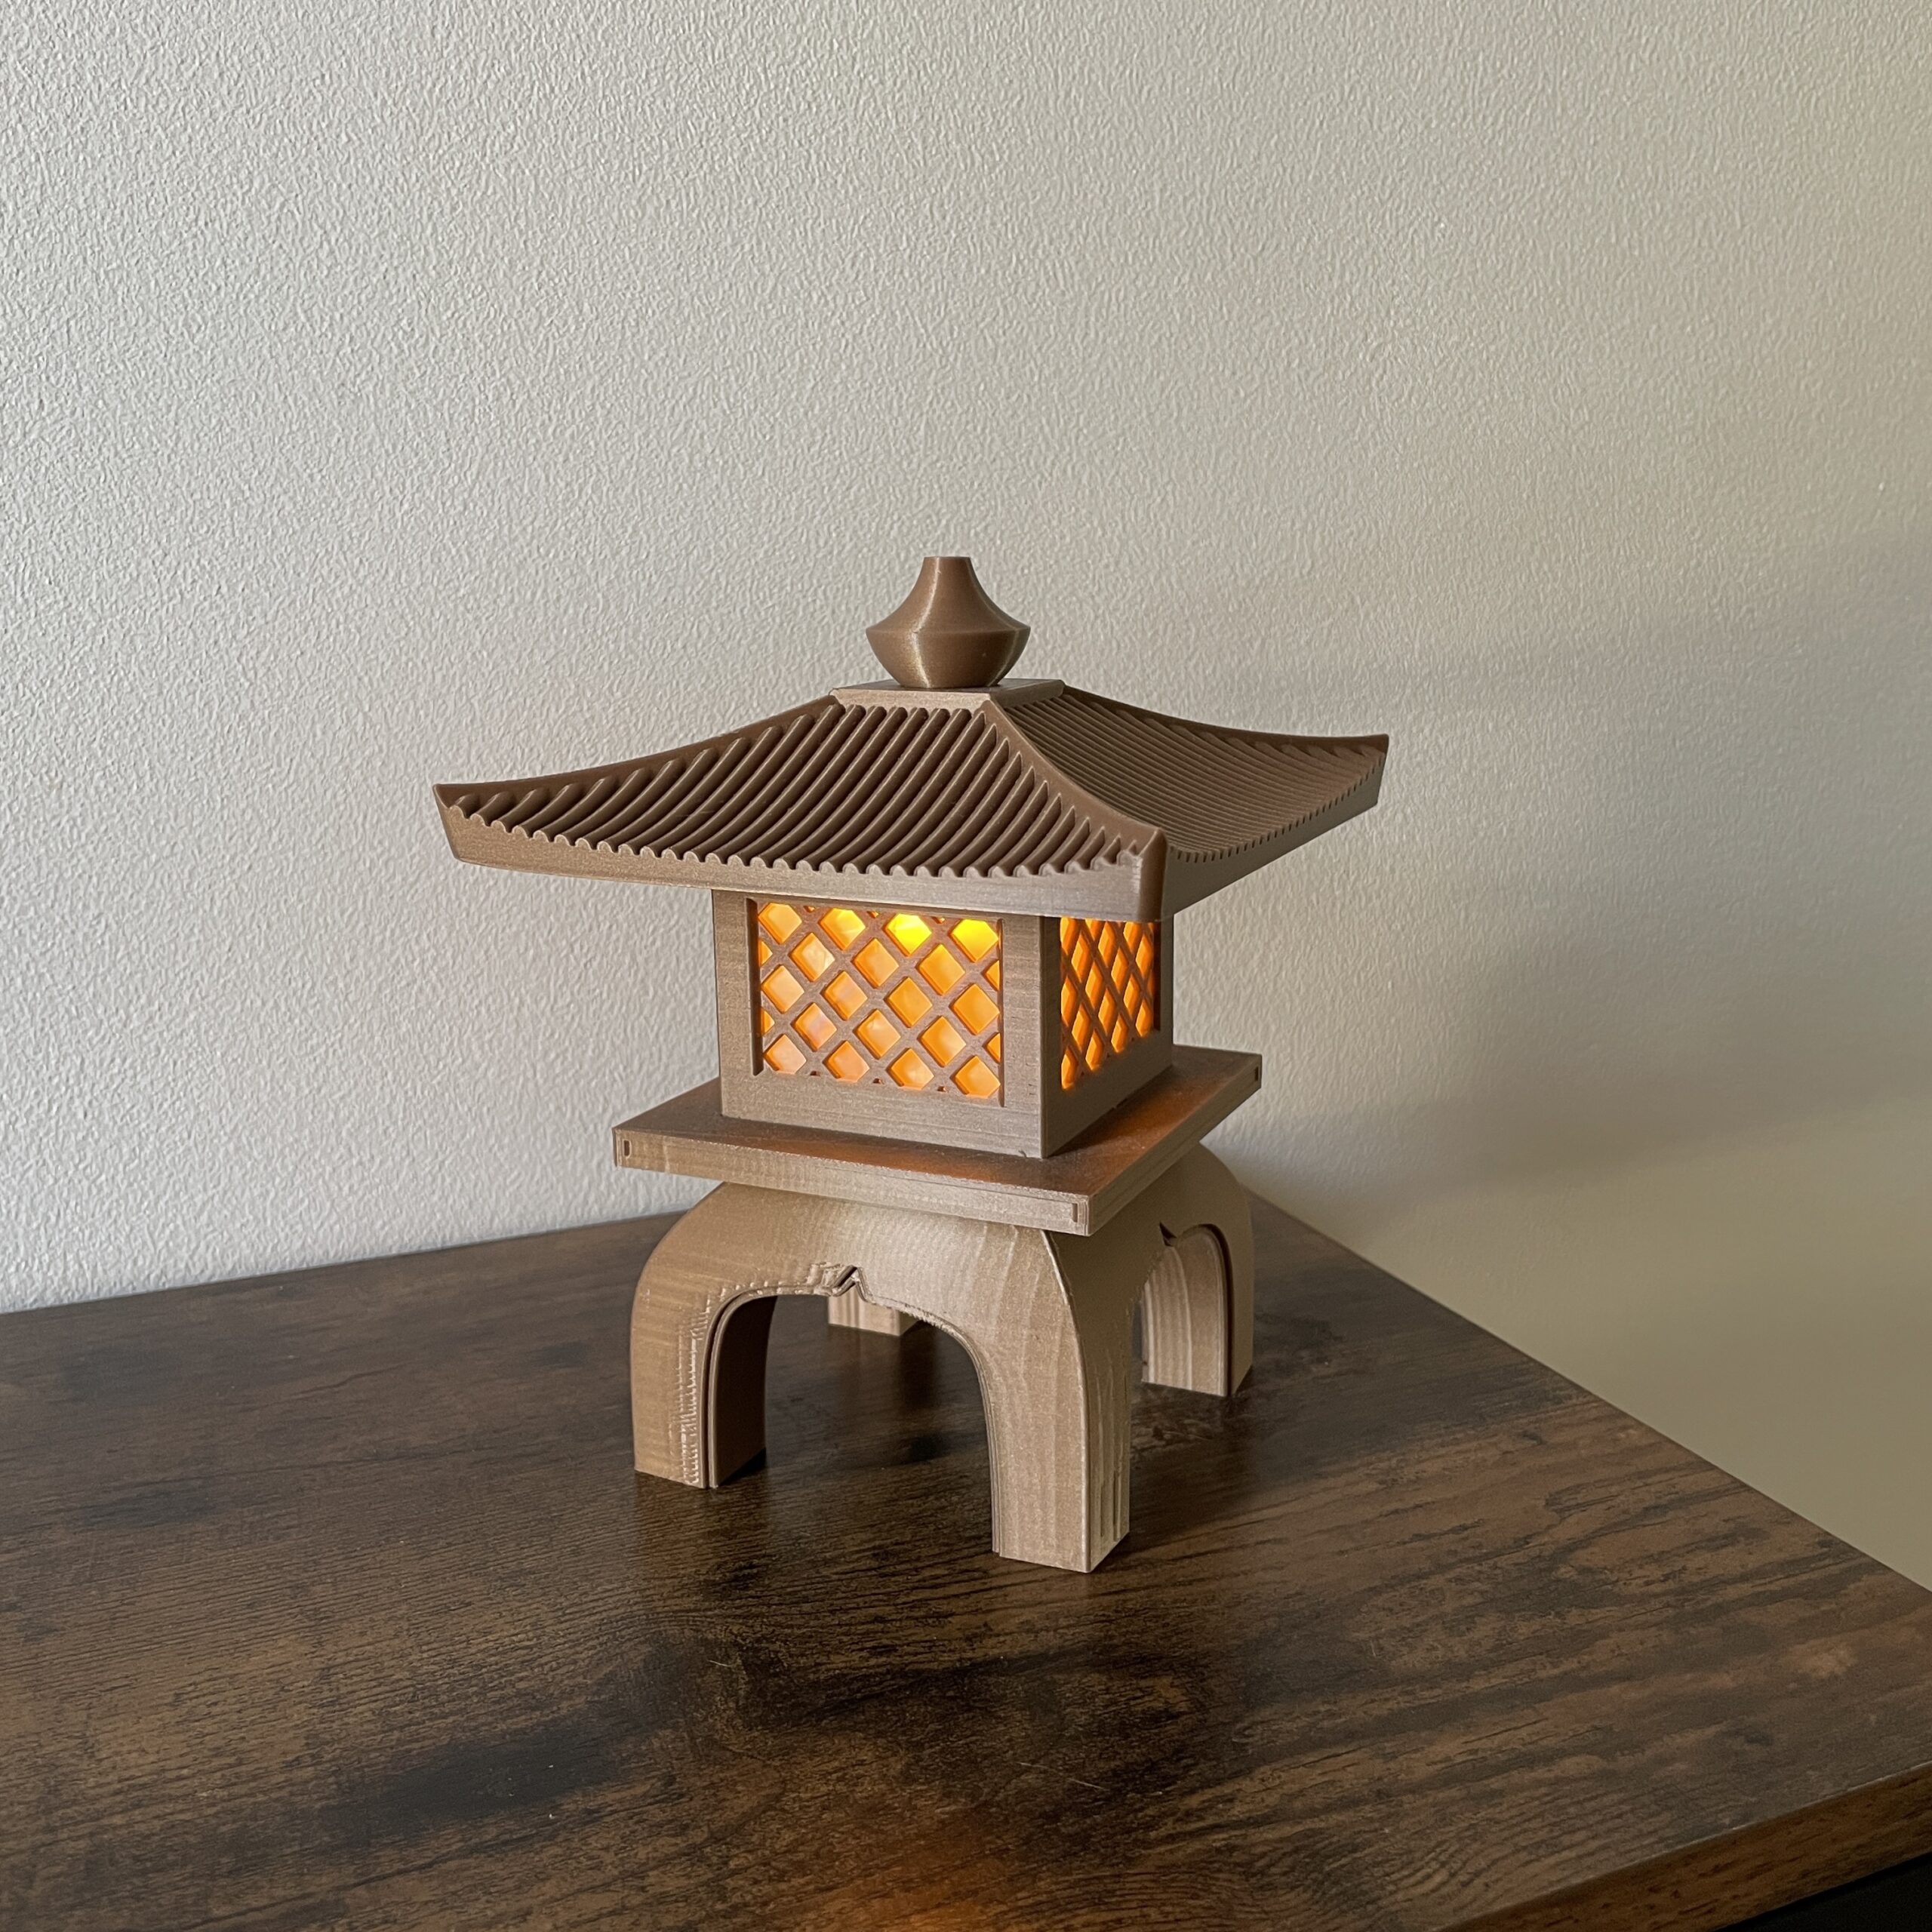
    [vc_row][vc_column width=”1/2″][vc_column_text]I have always been interested in Japanese décor so it was a welcome surprise when I found that I could 3D print my own Japanese lamp! I got the files from online and printed it out. It looked great after printing but i wanted it to actually function.

    I have tons of extra electronic parts laying around and I decided to rip the guts out of a moon lamp to use inside. I had to drill a few holes and added some wax paper inside for diffusion and tinfoil for reflection.

    Here is the result! Can’t wait to add it to a sand garden at some point![/vc_column_text][/vc_column][vc_column width=”1/2″][vc_single_image image=”319″ img_size=”medium” alignment=”center”][/vc_column][/vc_row]