[vc_row][vc_column width=”1/2″][vc_column_text]Boy oh boy has it been a minute since it posted last!
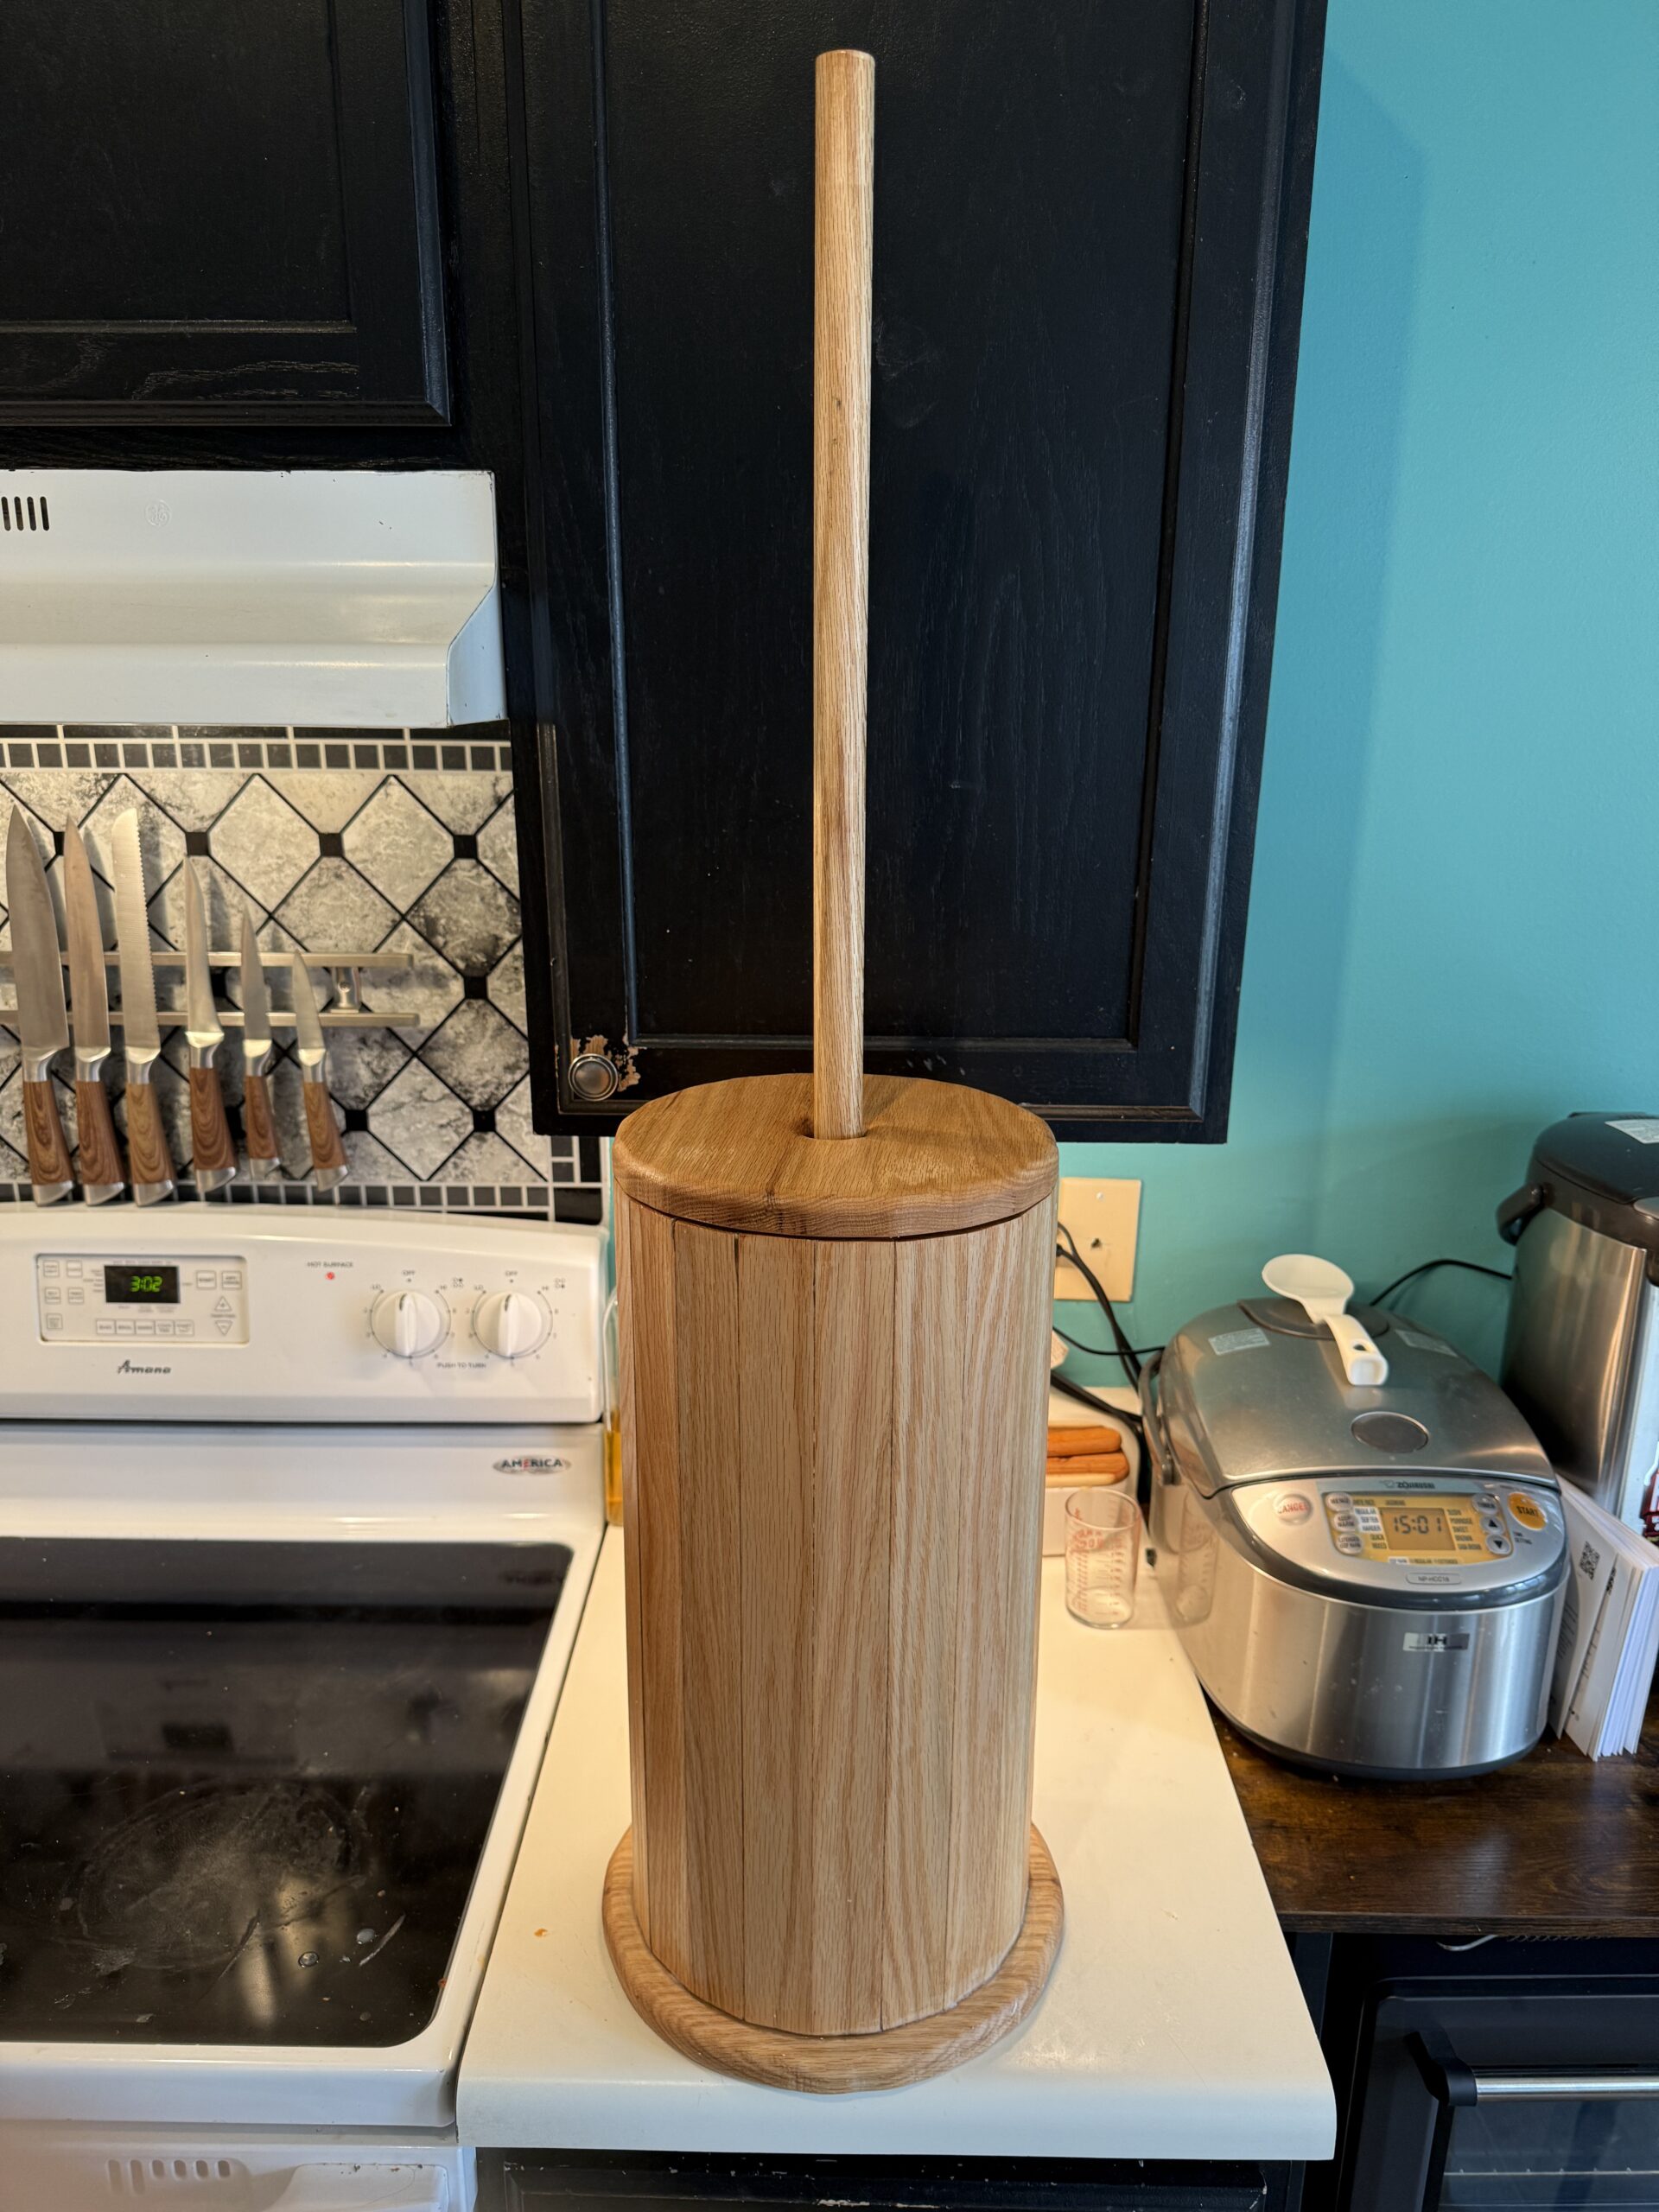
My sister-in-law’s birthday is around the corner and I had an idea that I wanted to create something that would fit into their lifestyle. I wanted it to be both functional and decorative so I settled on a butter churn! It has a use case and doubles as rustic kitchen decor.
Although I thought that this was going to be easy in practice, it very much took some patience. I started by referencing a few dozen designs online for various traditional pieces, and I modeled it after the most iconic looking churn’s.[/vc_column_text][/vc_column][vc_column width=”1/2″][vc_single_image image=”618″ img_size=”medium” alignment=”center”][/vc_column][/vc_row][vc_row][vc_column width=”1/2″][vc_single_image image=”607″ img_size=”500×500″ alignment=”center”][/vc_column][vc_column width=”1/2″][vc_column_text]I wanted it to look as round as possible so I upped the amount of stays from the traditional 12 to 20. They are 1.5″ wide Oak stays and the math worked out to a bevel of 9° on each side.
I numbered then on the end so I could keep track of the sanding process. They were sanded down to 1000 grit on the inside edge to reduce the number of pores to prevent the milk/cream/butter from embedding it into the end product.[/vc_column_text][/vc_column][/vc_row][vc_row][vc_column][vc_column_text]I glued each of the stays together in sets.
In hindsight, I really should have done this all at the same time.
A massive mistake I made a this stage was not wiping the excess wood glue away before it dried. Using a very fine chisel to fix that took a lot of unnecessary time.
Applying pressure to the glue joints was a bit of a thinker too. Normally you would just use regular clamps but the bevel made that impossible. Instead, i got some really large and strong #7 rubber bands that held perfect tension around the barrel. Getting the rubber band on without 4 hands and it collapsing on itself was a whole ordeal…[/vc_column_text][/vc_column][/vc_row][vc_row][vc_column width=”1/3″][vc_single_image image=”611″ img_size=”500×500″ alignment=”center”][/vc_column][vc_column width=”1/3″][vc_single_image image=”621″ img_size=”500×500″ alignment=”center”][/vc_column][vc_column width=”1/3″][vc_single_image image=”612″ img_size=”500×500″ alignment=”center”][/vc_column][/vc_row][vc_row][vc_column width=”1/2″][vc_column_text]Making the circle base and top was harder than I thought it was going to be. I free cut the base on the bandsaw but with the top I was able to make it flush with a router bit. The base might look a bit funky but at least it has character![/vc_column_text][/vc_column][vc_column width=”1/2″][vc_single_image image=”615″ img_size=”500×500″ alignment=”center”][/vc_column][/vc_row][vc_row][vc_column width=”1/2″][vc_column_text]
[/vc_column_text][/vc_column][vc_column width=”1/2″][vc_column_text]Every surface was coated with a mixture of 200g of mineral oil and 50g of beeswax. (Exactly like a wooden cutting board!)
The churn sticks were boiled in beeswax for over an hour to fill all gaps and cracks so that it is easier to clean.[/vc_column_text][/vc_column][/vc_row][vc_row][vc_column width=”1/3″][vc_single_image image=”614″ img_size=”500×500″ alignment=”center”][/vc_column][vc_column width=”1/3″][vc_column_text]
After finishing it, I realized that the top just bounces all around during use, so I modified it with embedded magnets to hold the lid shut. I coated the rim with beeswax for a good seal too.
[/vc_column_text][/vc_column][vc_column width=”1/3″][vc_single_image image=”616″ img_size=”500×500″ alignment=”center”][/vc_column][/vc_row][vc_row][vc_column][vc_column_text]This was a very fun learning experience and I’m not joking when I say that I used every tool in the shop to make it! I even had to buy new ones too! (Cheap routers don’t like Oak. :D)
I actually had a lot more planned to add to it but work and life took the time that I needed.
It may not be the most practical thing to use since the KitchenAid will make butter like 20 times faster and is way easier to clean but at least it can be some good kitchen décor and a story to tell for guests. Either way, I hope she enjoys it![/vc_column_text][/vc_column][/vc_row]

![Woodworking Progress [Update 3]](https://jaredbsmith.com/wp-content/uploads/2023/08/img_7104-scaled.jpg)
![Woodworking Progress [Update 2]](https://jaredbsmith.com/wp-content/uploads/2023/07/img_6917-scaled.jpg)